Create and Manage Inboxes in Help Scout
You will create your first Help Scout inbox as you set up your account. If you need to create more inboxes, make changes to the one you created, or delete an inbox, you're in the right place to find out what you need to know!
In this article
Create a New Inbox
- Head to Manage > Inbox(es), and click New Inbox.

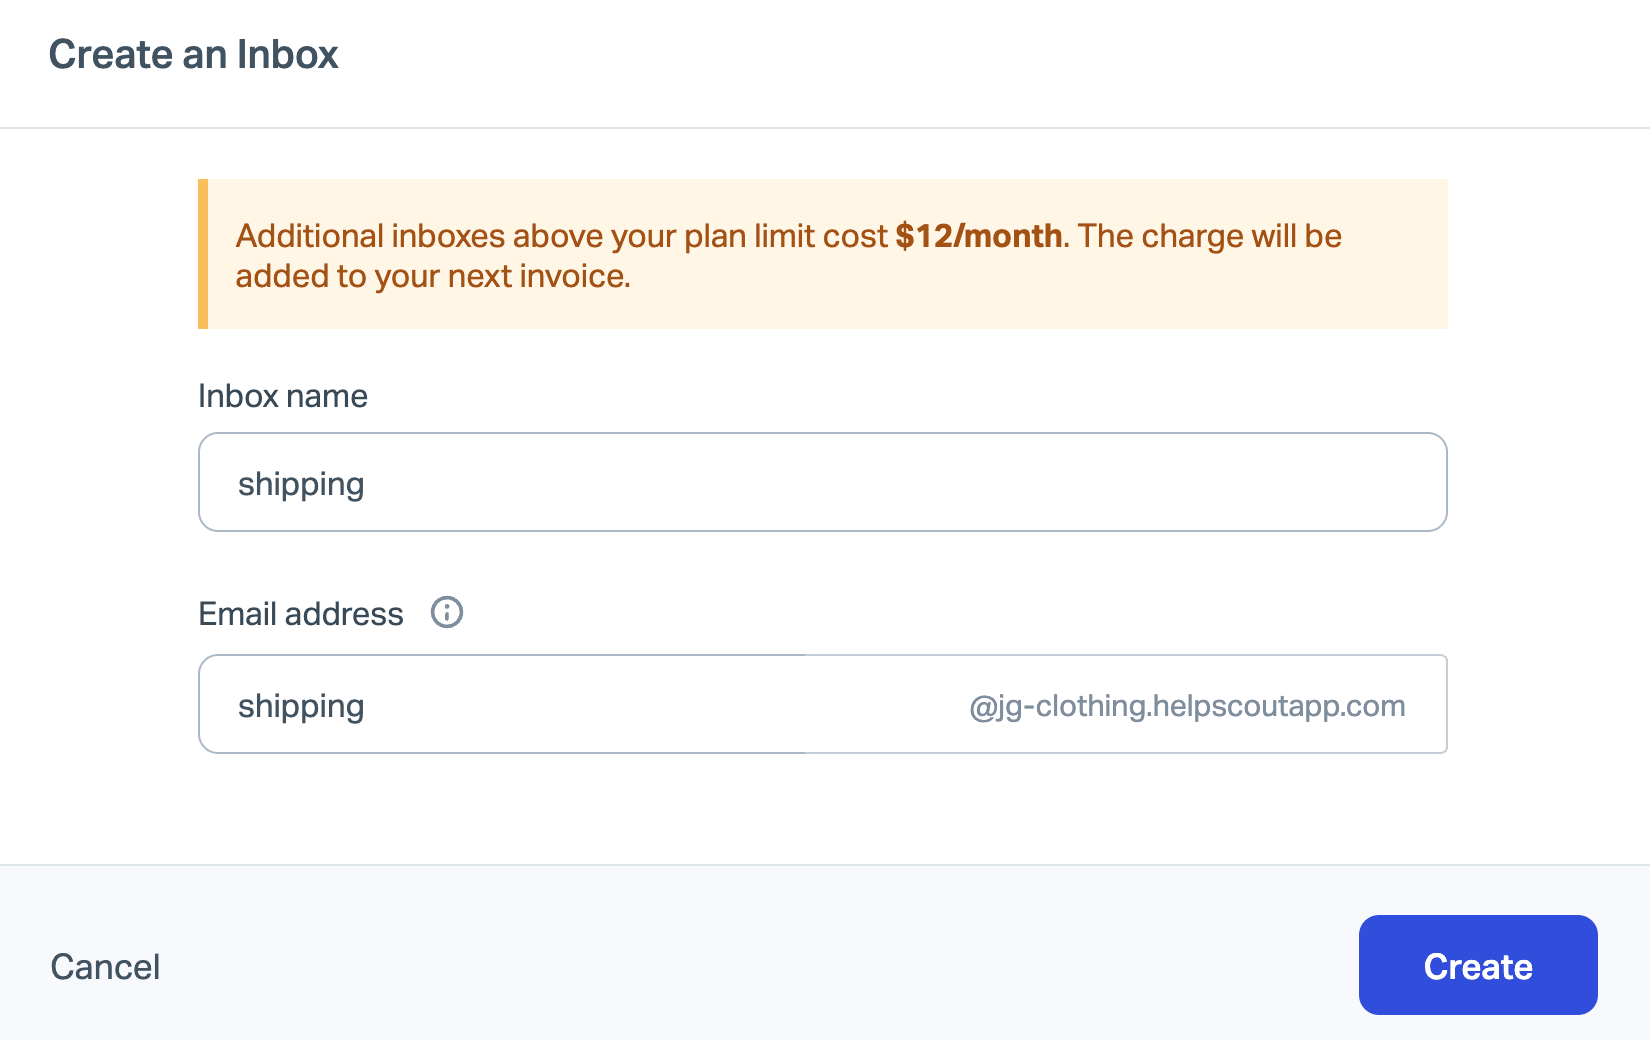
Note: Each plan has a set number of inboxes included, and additional inboxes cost $12 USD per month per inbox on monthly billing, or $10 USD per month per inbox when paid annually. When you click New Inbox, you'll see a notice to advise you of the additional charge if you're over your plan's limit. The Account Owner, Administrators, and Users with permission to manage billing can see how many inboxes are included at Your Plan.
-
Fill in your desired Email address and Inbox Name. This will create an email address at your Help Scout subdomain that you can use on its own.
Note: If your previous inboxes used our old email address format, you may see a notice here about your new subdomain being set up. Follow the instructions on screen to make any changes you'd like to make to that subdomain.
-
You'll see a confirmation that this new email address has been created and you can choose Open Inbox to go right to the new inbox you just created. If you would like to continue to Customize your Inbox Settings, click the Inbox Settings button. If you are using the address you created with the helpscoutapp.com domain, you're all set!
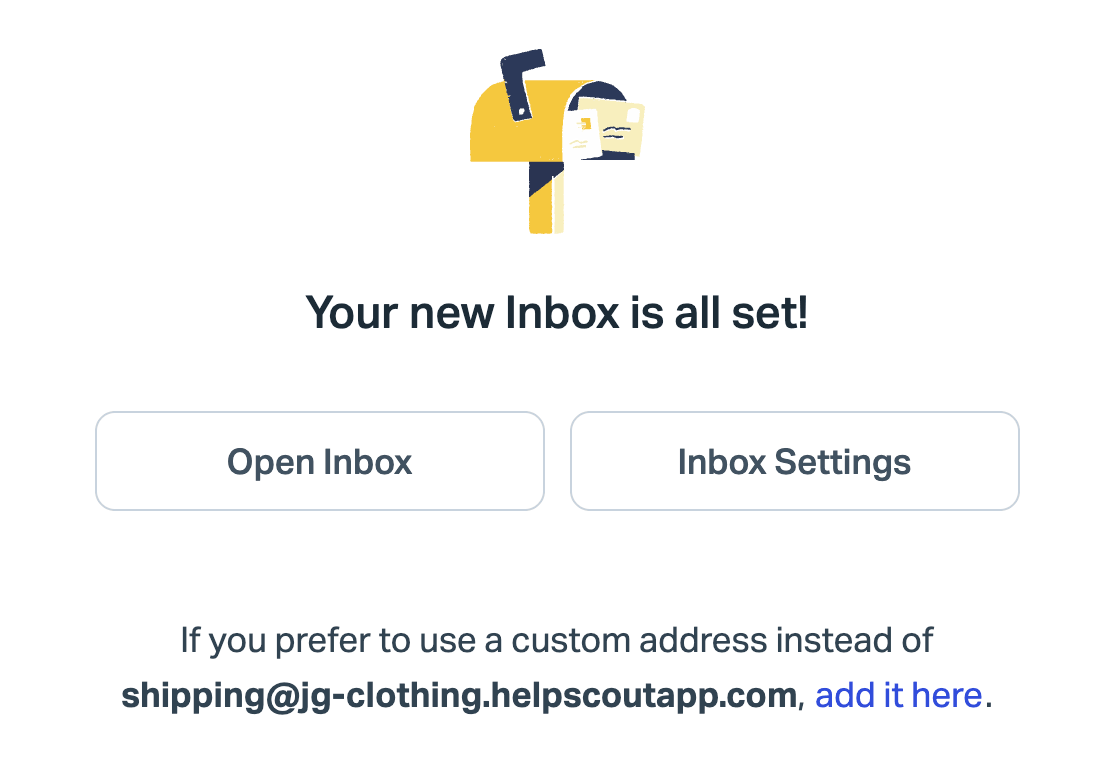
If you'd like to use your own address at your own domain with your inbox, click the add it here link and continue to step 4.


-
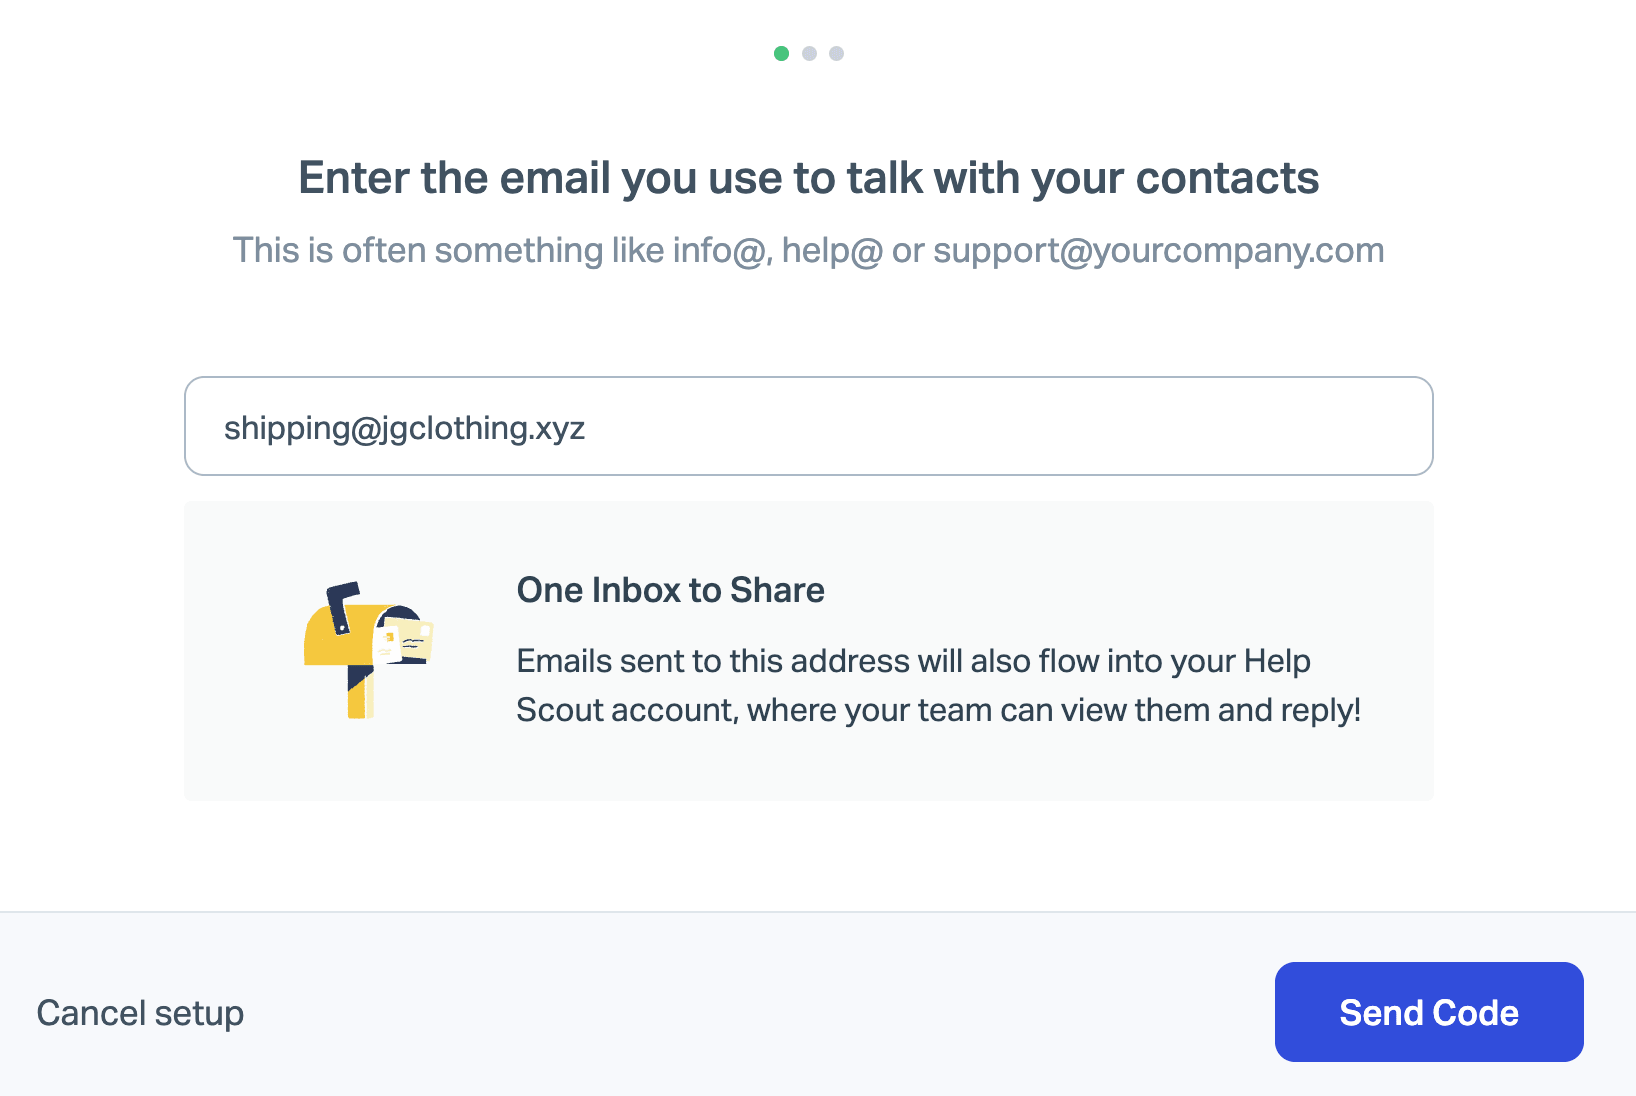
Enter the email address you have set up already at your domain and click Send Code.

-
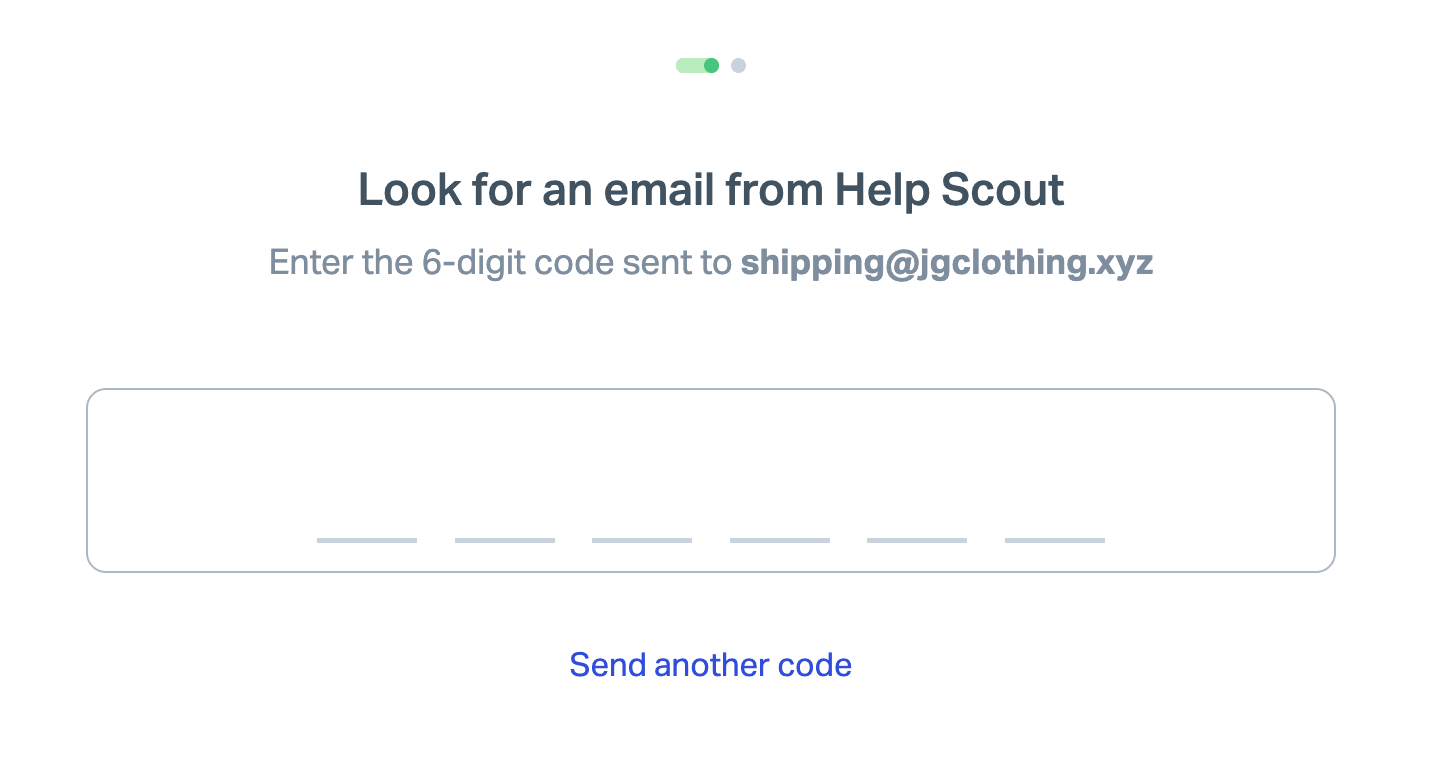
When you receive the code in your external mailbox, just pop it into the next screen and click Confirm.

- If your email is Google Workspace based, head over to Auto-forwarding From Google Workspace to Help Scout for the steps to finish up! For any other email provider, just head over to them to get your forwarding or redirection set up.
ℹ️ Not sure how to do that? We've got you covered for some of the most popular providers! Check out Help Forwarding or Redirecting From Your Provider for a few guides.
Add or Update a Custom Email Address
If you need to change your custom address or connect a custom email address for the first time, head over to Manage > Inbox(es) to get started.
-
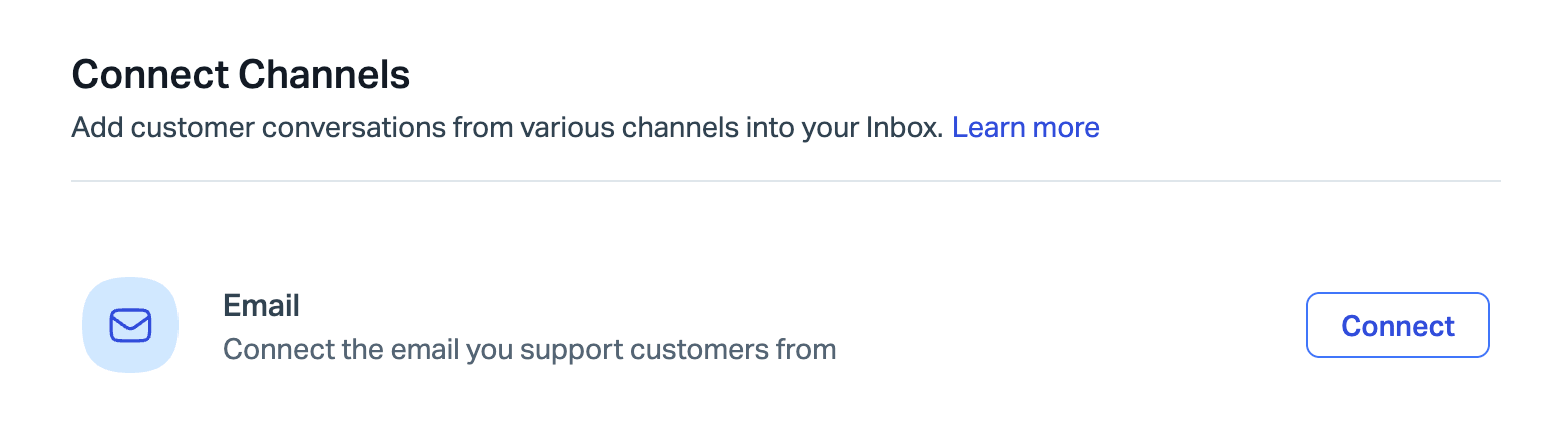
Select the Inbox you wish to change then click Channels in the left navigation menu. If you've never set up a connected address, click Connect next to Email.
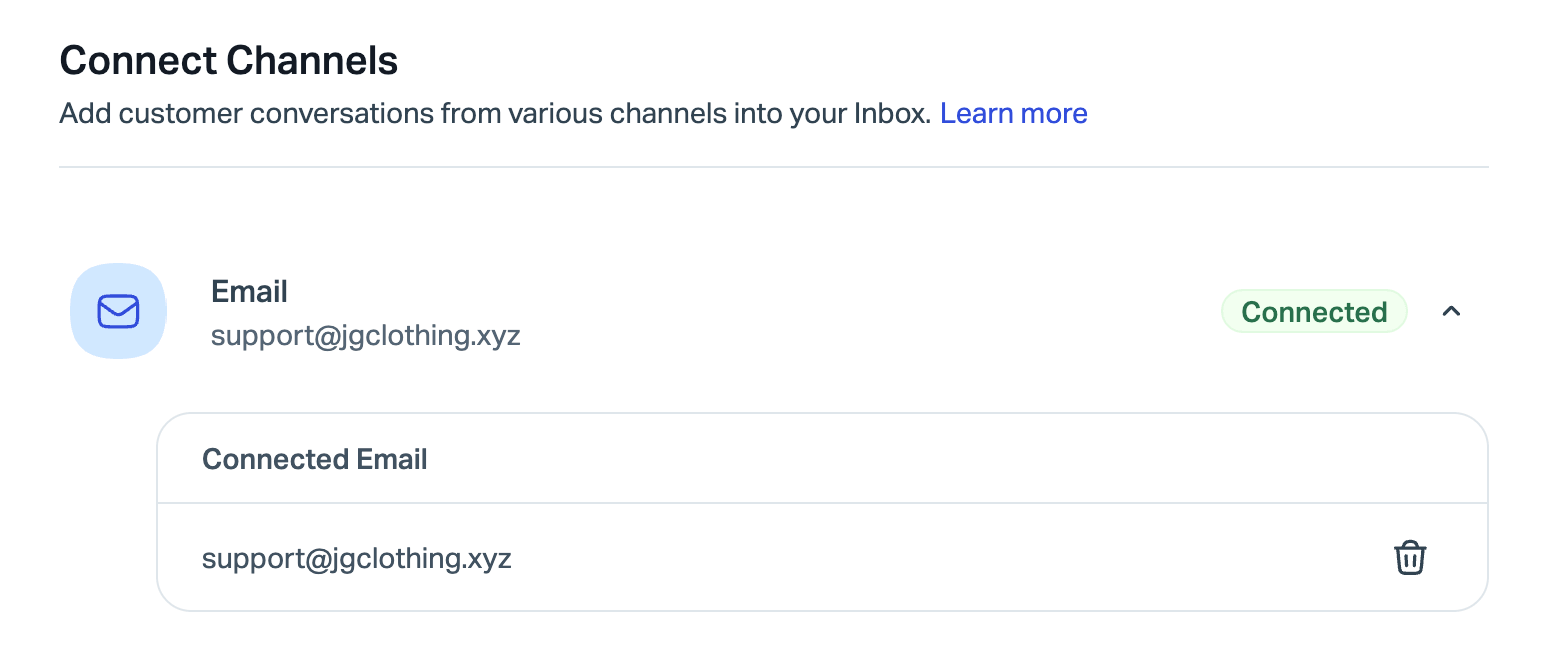
If you've already set up an address, click the drop down arrow next to the green Connected badge, then click the trashcan icon to delete the address that is connected. Confirm the deletion, then click Connect to add a new address.
-
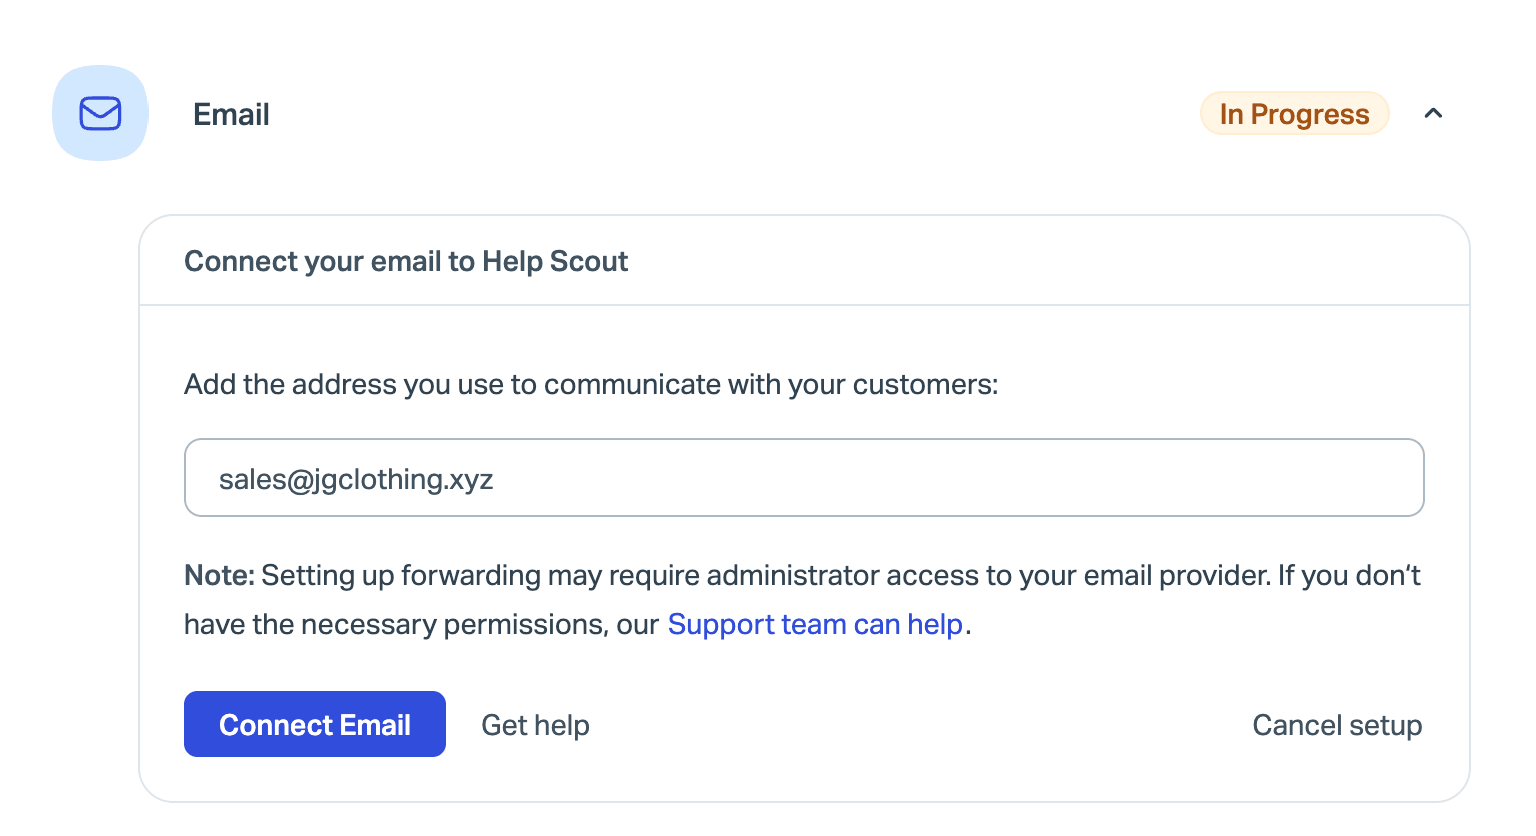
Enter the address you want to connect to this Inbox, and click Connect Email.
-
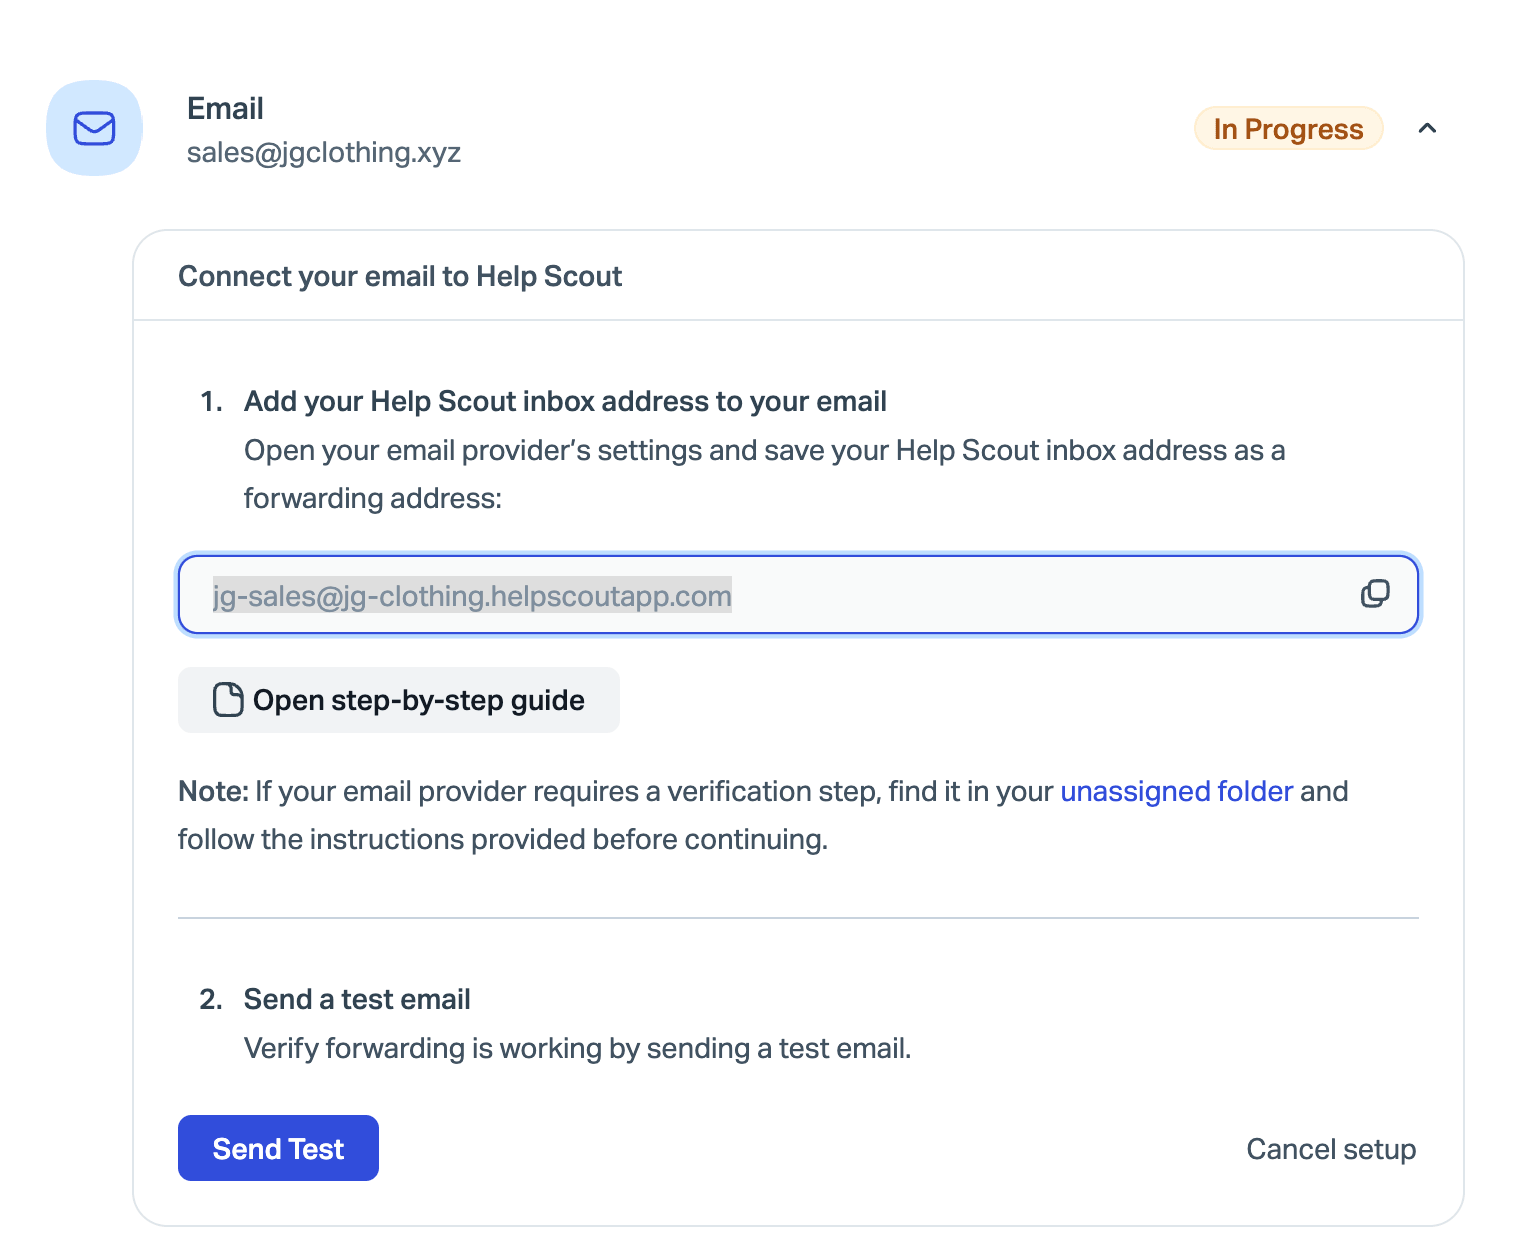
Copy the Help Scout Inbox address from this screen, then head to your email provider to set up forwarding to that address.
If your email is Google Workspace based, head over to Auto-forwarding From Google Workspace to Help Scout for the steps to finish up! For any other email provider, just head over to them to get your forwarding or redirection set up.
ℹ️ Not sure how to do that? We've got you covered for some of the most popular providers! Check out Help Forwarding or Redirecting From Your Provider for a few guides.
After forwarding has been set up, head back to this screen and click Send Test. It might take a few minutes, but Help Scout will send a test email and then confirm that it's been received to complete your Inbox connection to your email.


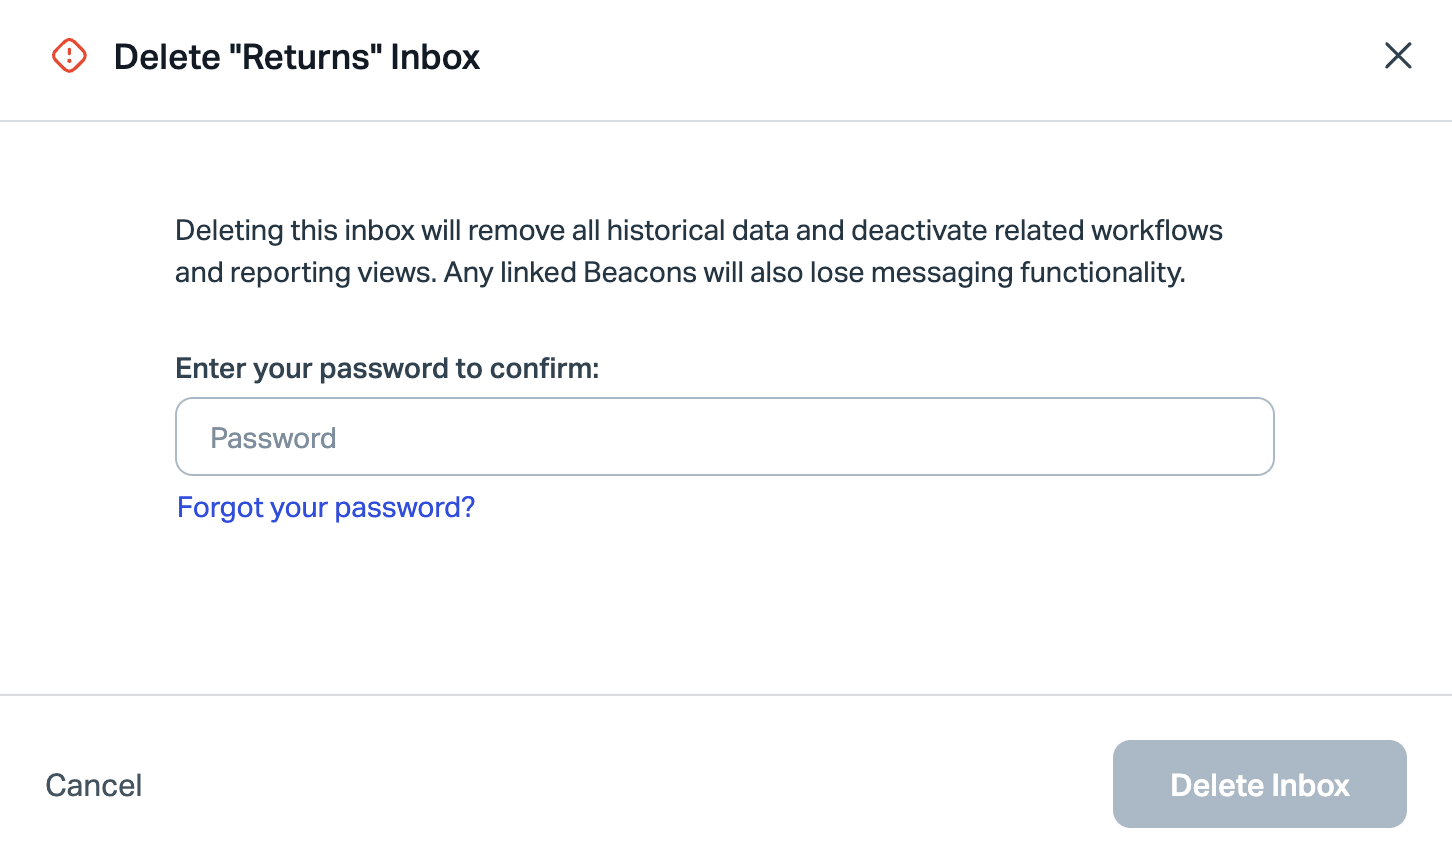
Delete an Inbox
Just head into Manage > Inbox(es) and click on the inbox you wish to delete. Scroll down to the bottom of that page where you'll see a Delete Inbox link. Click that link and you'll be presented with a confirmation screen. Enter your Help Scout password to confirm deletion.