Create and Manage Contact Profiles
Profiles in Help Scout are built automatically when a contact emails your support address for the first time. We'll also create a profile when you compose a new conversation on behalf of the contact. You can also manually create a contact from Customers > Contacts.
This article talks about creating, editing, and updating contact profiles.
In this article
Create a Contact Profile
Create a contact when you need a profile before the person has emailed you, for example to give them access to a Customer Portal.
- Go to Customers > Contacts.
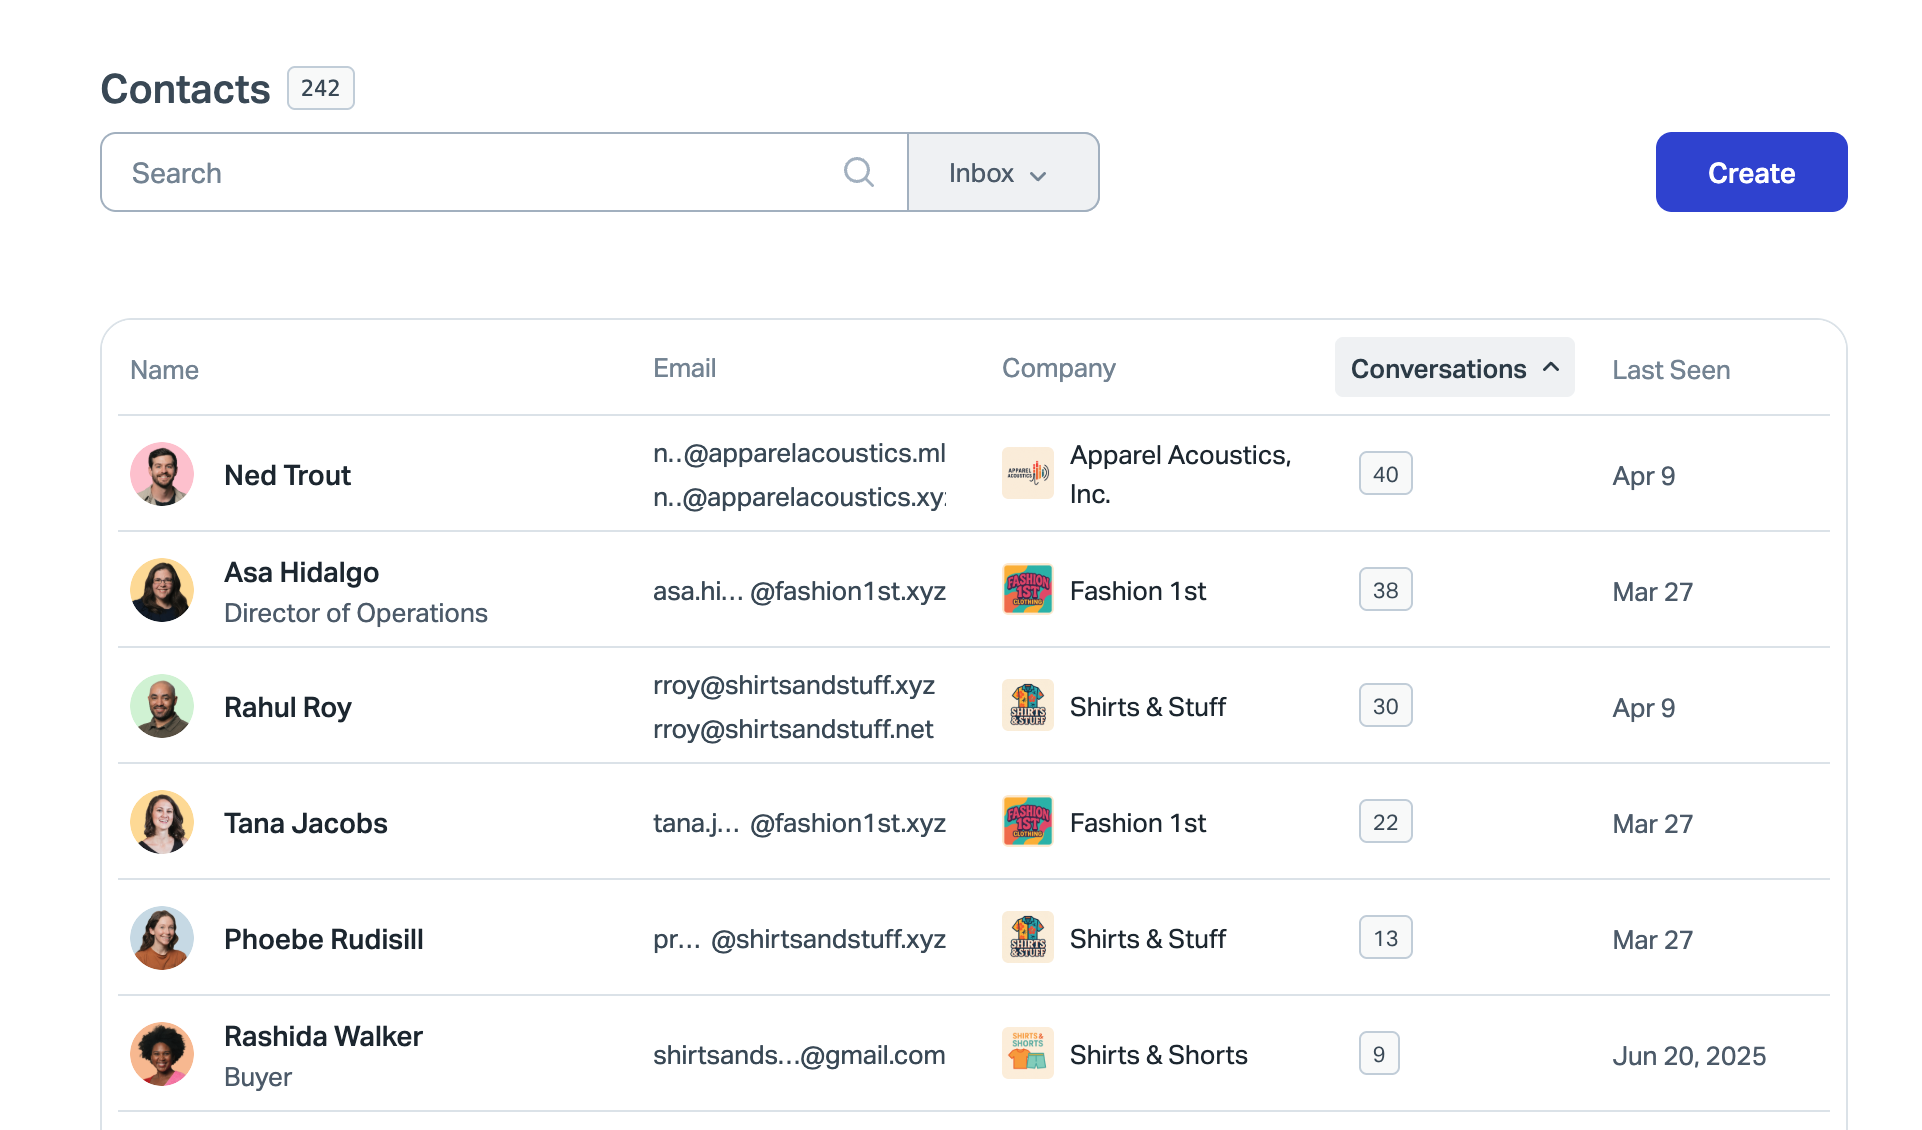
- Click Create.
- Enter the contact's First name, Last name, and Email address.
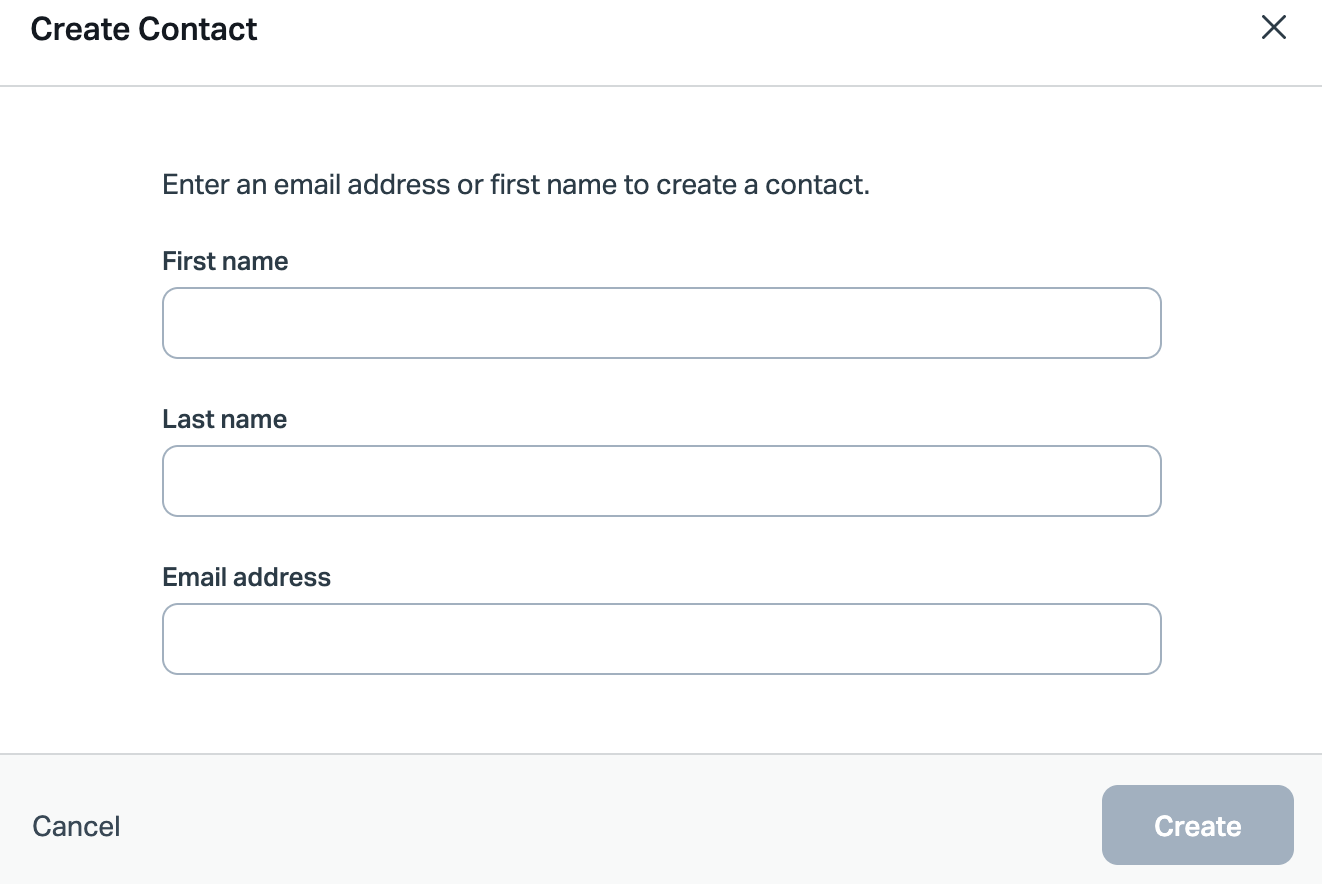
- Click Create.
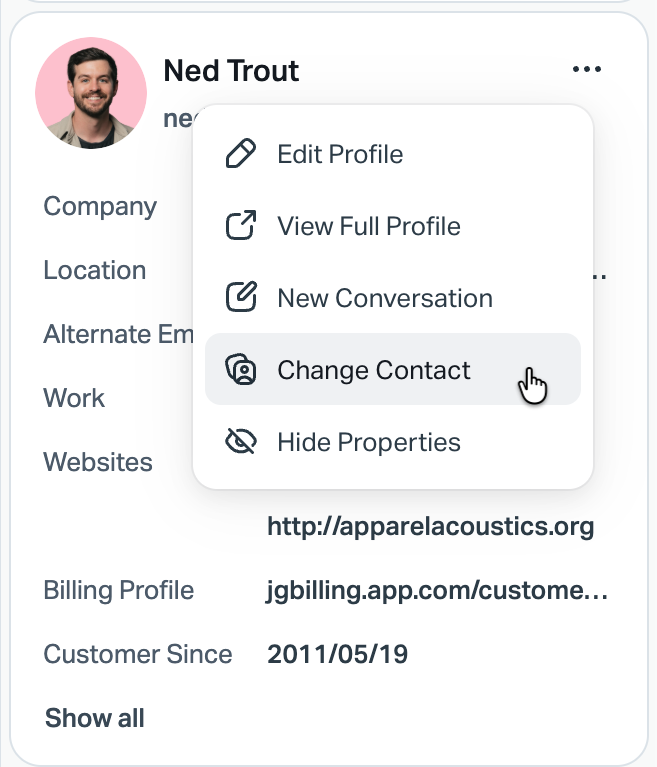
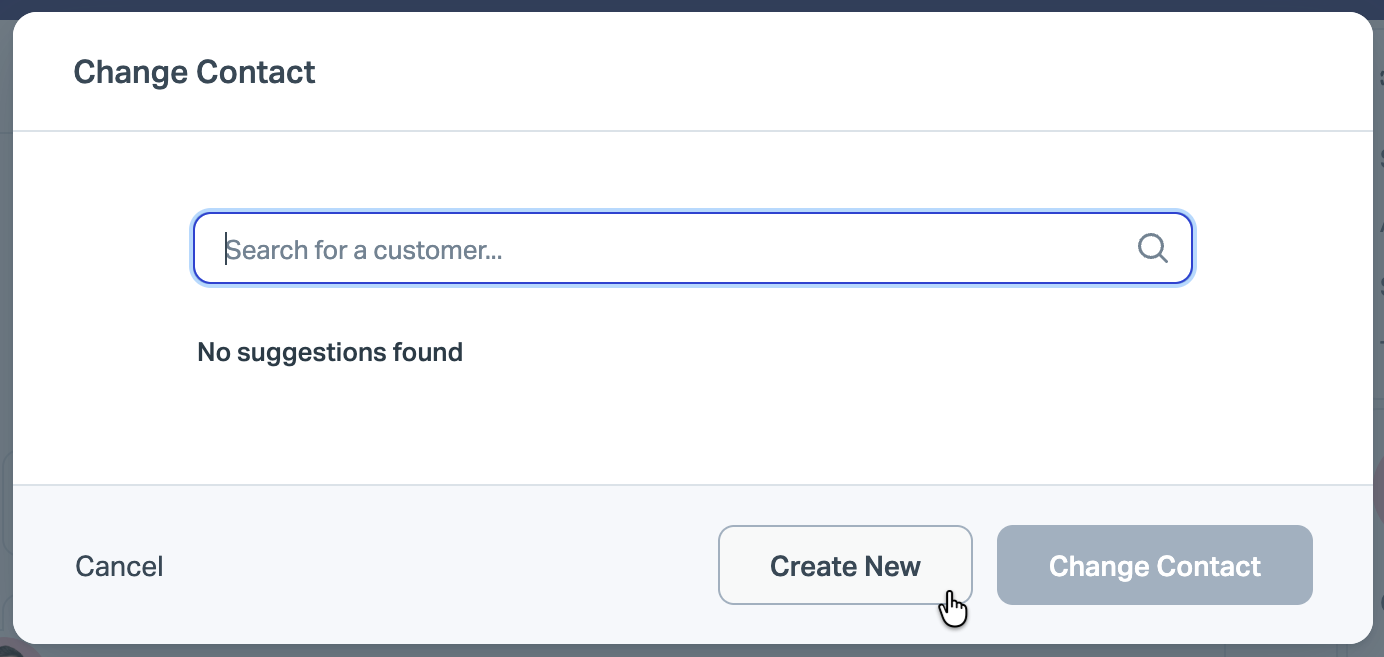
You can also create a contact from a conversation by choosing Change Contact in the sidebar and selecting Create New.
Edit a Contact Profile
You can view and edit profile fields from a conversation. Click the contact avatar in the sidebar to open the contact panel, where profile details and properties are consolidated in one view.
To access the full contact profile click View Full Profile after opening the side panel, or click the 3 dots option menu from the main sidebar and choose View Full Profile.
There you can view the full conversation history, edit the profile picture, and delete the contact completely.
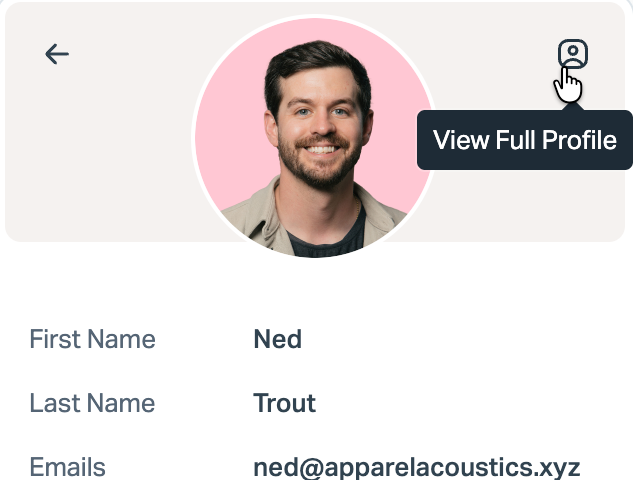
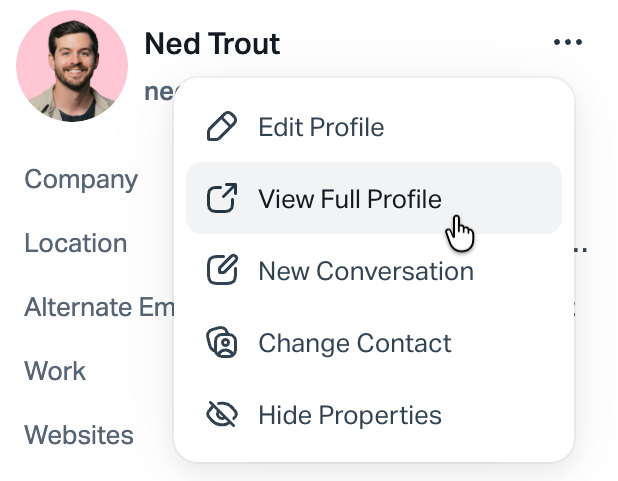
To delete a contact profile, see About Deleting Profiles for more information on what is deleted and the steps to complete it.
Profile Fields
The customer profile offers the following fields by default:
- First Name
- Last Name
- Company
- Job Title
- Phone
- Website
- Address
- Notes
The Notes field is a good place to add general notes, as those notes show up in the sidebar when you're working on a conversation. To add multiple lines of information to the Notes field from the full contact profile, press Shift+Enter to create a new line.
In addition to the default fields, your Account Owner and Administrators can create additional customer properties that can be populated manually or programmatically. See Customer Properties for more information on that feature!
Automatically Populate Contact Profiles With Gravatar
Help Scout is Gravatar-enabled! This allows us to automatically populate Help Scout contact profiles with their Gravatar profile information associated with their email address, when such a profile exists.
This integration with Gravatar enabled by default. Your Account Owner or Administrator can head to Manage > Company > Conversations and toggle the Enrich Customer Data switch off if you would rather not use Gravatar to populate your customers' information.
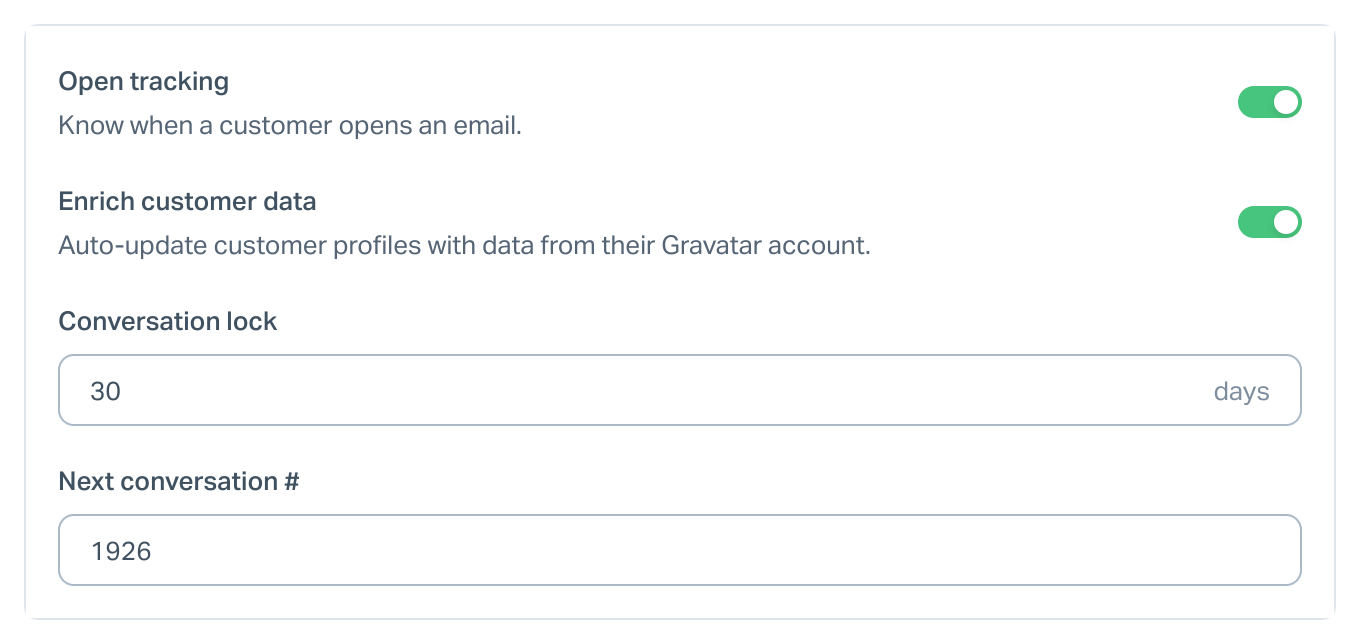
Your contacts have full control of their Gravatar profiles — you can direct them right to Gravatar to update or correct any information there.
There is some housekeeping that you can do within Help Scout, such as removing their image by clicking on the trash can icon when you hover on their photo, available on the full contact profile screen. You're also able to overwrite certain data, like the Company and Job Title.
If you toggle Enrich Customer Data off after using it, any previously synced data will remain, but Help Scout will no longer connect to Gravatar for updates to existing data or to get new contact data.
Adding Contacts to Help Scout
A contact record in Help Scout is created automatically the first time you receive an email from or send an email to an address. You can manually create a contact from the Manage Contacts page at Customers > Contacts. See Customers List for more information. You can also add contacts programmatically using the Help Scout API or tools like Make and Zapier.