Contact and Company Properties
Company and Contact properties let you capture and show the details your team cares about. You choose which properties to track, add the information to Help Scout manually or programmatically, and your team will see that contact and company data in every conversation.
| Permissions & Plans Access | |
|---|---|
| Plans With Access | All Paid Plans |
| User Roles and Permissions | Account Owners and Administrators can create and edit; all users can view |
In this article
Create and Edit Properties
Account Owners and Administrators are able to create and edit properties. You can add up to 50 individual contact properties and 50 individual company properties.
Properties are global across all Inboxes in your Help Scout account and will be displayed in the Properties sidebar section in each conversation.
Head to Manage > Properties. Select Contact or Company on the left navigation menu. If you're creating your first property, click Create Property to get started.
When you come back to Manage > Properties after creating the first one, you'll find a New Property button if you want to add more.

Name
The property name is the label for the field as it appears in a contact profile or in the sidebar of a conversation. The name can be up to 100 characters, including spaces and special characters.
Property ID
The property ID will automatically generate and prefill based on the name you specify, but you can override that if you prefer to use a different format for the ID. Property IDs are case sensitive and support the use of hyphens and underscores (no other special characters or spaces are allowed).
Type
You can choose from 5 available data types for each property you create.
- Text - Free-form text entry field, up to 255 characters
- Number - Numeric characters only
- URL - Addresses entered here will be displayed as a clickable link on the conversation sidebar
- Date - Contact profile will show a calendar to manually enter the date
- Dropdown - Dropdown list with an option to select one choice. You can define your choices and drag-and-drop to order them. There is a limit of 100 options.
Click Create when those fields are all set, and you'll find yourself back on the Manage > Properties page.
From here, you can edit the display name of any property. The field type and ID are not editable.
Click on the Property ID to copy that to your clipboard for quick access.
Conversation Sidebar
Properties show in the conversation sidebar in every conversation.
Each Help Scout user can choose to show or hide properties as they prefer. Click the three dot option menu and choose Show/Hide Properties. Click the company tile to see the company properties.
Mouse over the property to reveal a copy button. Click that to copy the property data.
Click on a property elsewhere to edit the property.
How to Populate Properties
Once you've created the properties you'd like to track in Help Scout, you can populate them manually from the contact or company profile or programmatically via Inbox API .
Contact properties can also be updated using Zapier, or with the help of your development team using Beacon's JavaScript API.
Populate properties manually on a contact or company profile
Conversation Sidebar
Add and edit contact and company properties right from the conversation sidebar. If no defined properties exist for a contact or company, click Edit Properties to add them.
If there are defined properties, just click on the property to edit it.
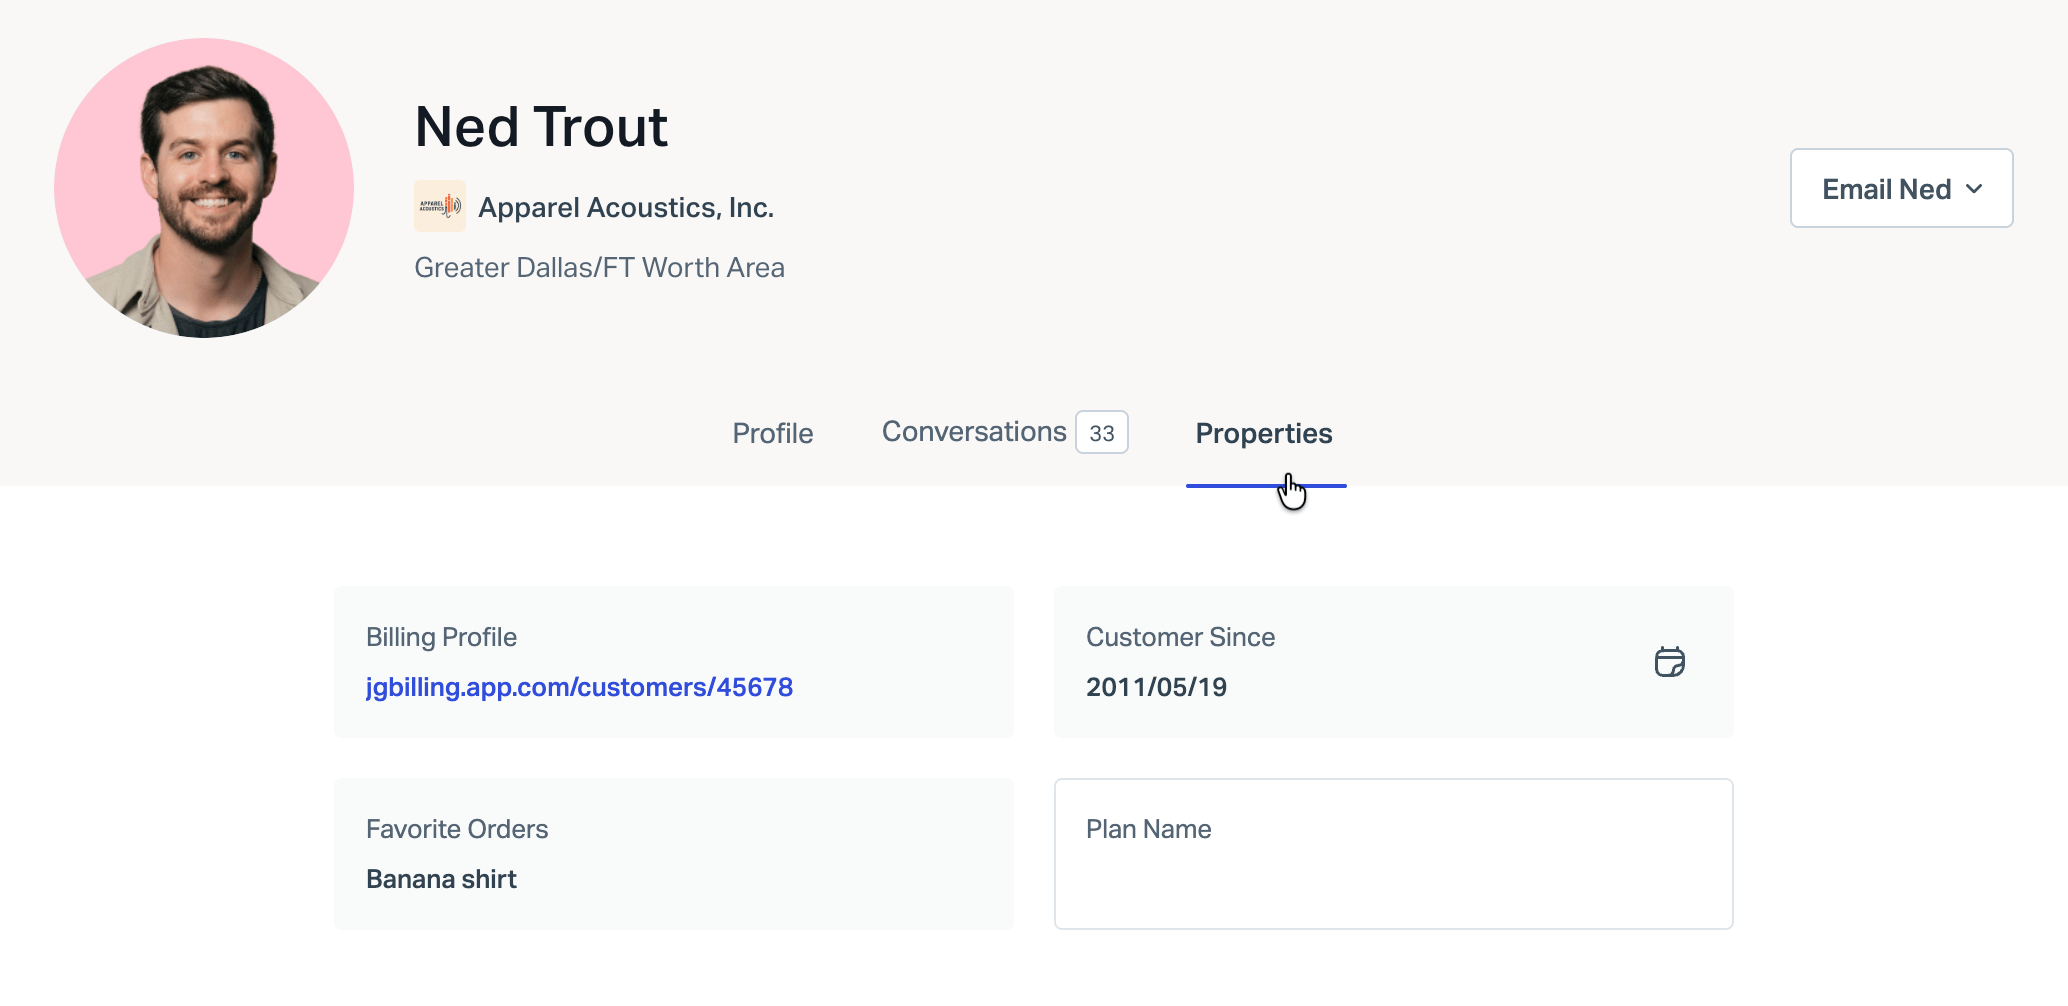
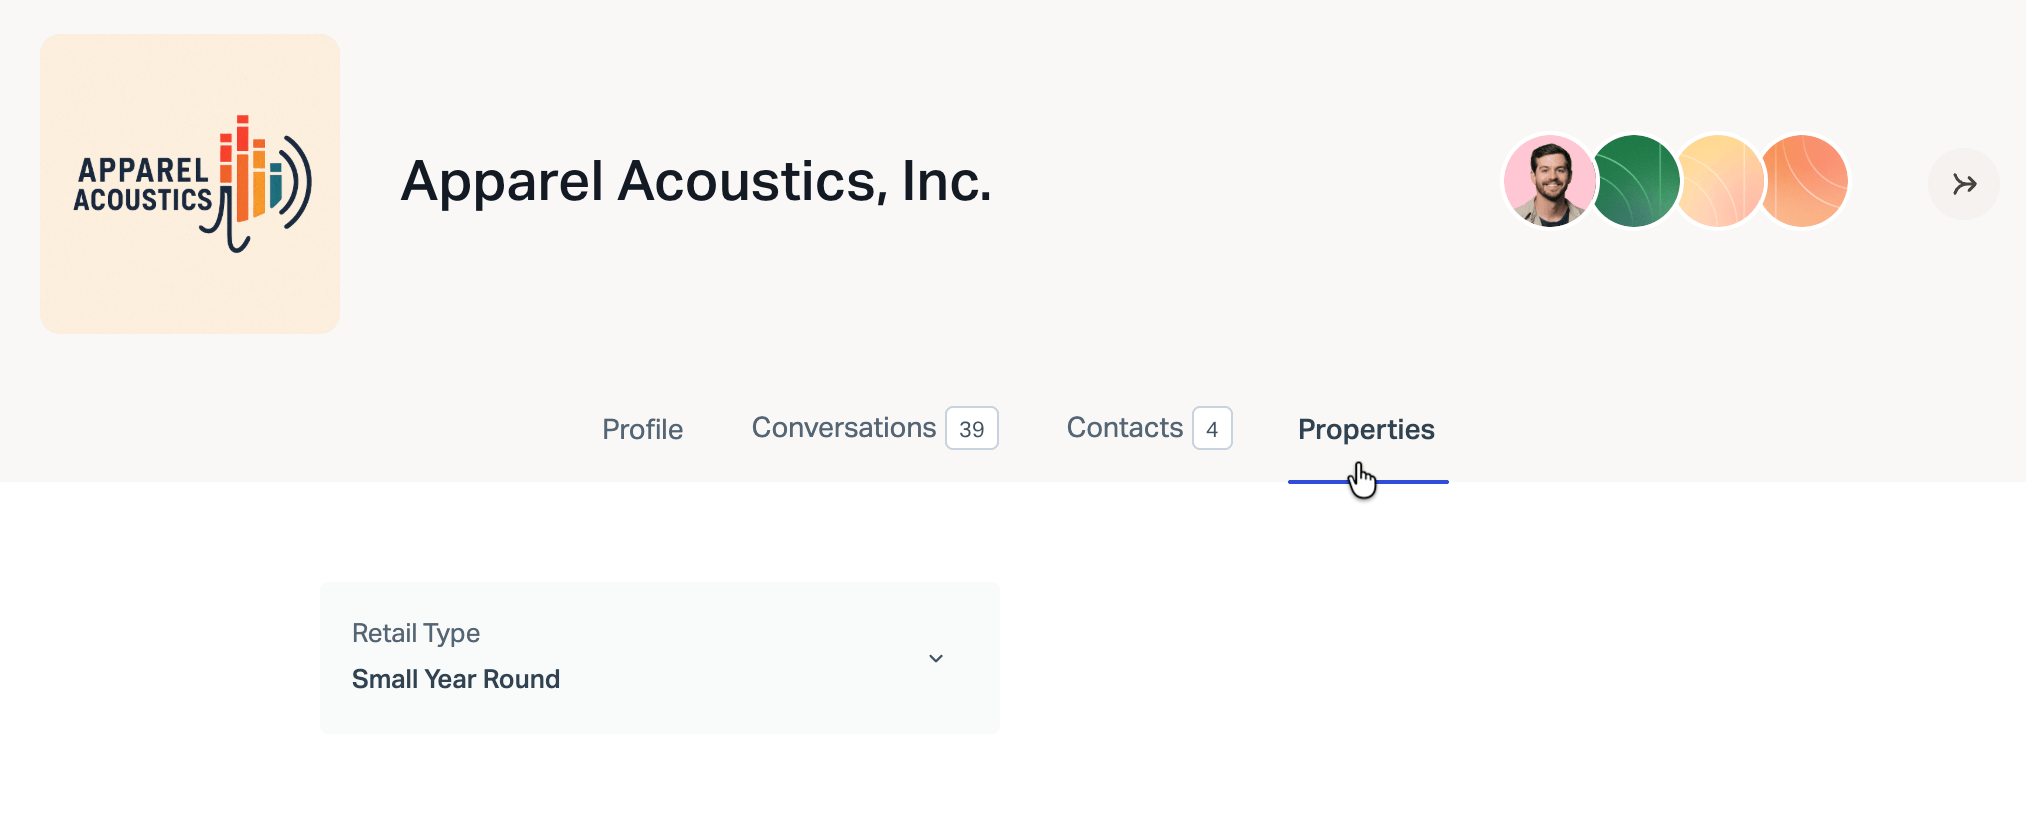
Contact or Company Profile Page
Just head to Customers > Contacts or Customers > Companies and find the contact or company, then choose the Properties tab.
Programmatically populate contact properties via the API
To create a bulk import or set up an ongoing sync of your contact data into Help Scout properties, grab your developer team and point them over to the Inbox API documentation. They'll want to dig in to the Customers endpoints — specifically, they can use the Update Customer Properties endpoint to fill in properties for your contacts. For company properties, they will want to use Set Organization Property Value.
Programmatically populate contact properties using Zapier
The Create Customer action at Zapier includes any Contact Properties you have defined. You'll find them below the standard Customer Profile fields in your Zapier action setup.

The new Update Customer Properties action at Zapier requires the Contact ID. If your trigger does not already include the Contact ID, use the Find Customer action as a step before this one to pull the ID, then choose the Update Customer Properties action. The Contact Properties you've defined will show as options to fill.

Programmatically populate contact properties using Beacon identify
If you use Beacon to offer support to your contacts, you can also sync contact property data via Beacon Identify. Details such as name, email address, and property information can sync from an external data source — such as your billing system or customer account manager — to the contact's profile each time they load Beacon.
With help from your development team, you can install Beacon on your website or in your app and connect it to Properties in two quick steps:
- Head to Manage > Properties to create your contact properties and take note of the property ID for each. For example, the property ID below is
planName.

- Work with your developer team to install Beacon and use the identify method to pass along the relevant property information.
See Add Beacon to Your Website or App for help with installation, and point your developers over to the developer documentation Beacon(‘identify’, userObject) for the details they'll need to set that up.

Note that all property IDs and dropdown values are case sensitive, so you'll want to make sure that you give your developer the exact case as shown in your contact property settings in Help Scout.
The following code snippet is an example of an identify implementation adds the contact's name, email address, and job title, which are all built in contact profile fields. It also sends over the contact property fields of planName and billing-frequency to their profile.

Delete a Property
Head to Manage > Properties, choose Company or Contact, select the property you'd like to permanently delete, and click the Delete link.
A confirmation model will remind you that deleting the property will remove all of its data from Help Scout — keep in mind that this deletion is immediate and there is no method to restore the deleted property or individual contact data before you confirm!
If you're sure you want to delete all of that data, click Delete to confirm.
Note: There is no method for you to restore a deleted property and its data; creating a new property with the same ID will not restore the previous data.
Examples and Inspiration
Contact properties are best suited for collecting details that are specific to a certain contact. Some examples of information you might want to have available in properties at the contact level are:
- Contact details: Contact/User ID, their local timezone, pronouns, or birthday
- Subscription details: Plan ID, billing status, or a list of what promotions they have
- Account details: Company or account name, account ID, their account admin, or the date they became a contact
To track and categorize conversations by information that's situational and pertains to a single conversation with your contact — the type of question that they contacted your team with, for example — we'd recommend using Custom Fields.
Common Questions
Can I use properties in Workflows or Saved Replies?
Yes! If you are on a Plus or Pro plan, you can now use contact properties in your Workflow conditions, Saved Replies, and Inbox Views.
Can I search for properties?
Yes you can! Contact properties appear in the global search under the heading Customer Properties.
Can I programmatically update company properties?
Yes, you can use the public API to programmatically update company properties. Updates using Zapier and Beacon Identify are not yet supported for company properties.