Create and Manage Service Level Agreements (SLAs)
NEW Service Level Agreements (SLAs) help your team stay accountable for the response and resolution standards your customers expect. Define time targets for different types of conversations or customer groups so you can ensure that high-priority requests get the attention they deserve and catch issues before they slip through the cracks.
Note: SLAs are not available on legacy contact-based billing plans. If you do not have SLAs available to your plan, your Account Owner can reach out to our support team for help switching to an eligible plan.
In this article
| Permissions & Plans Access | |
|---|---|
| Plans With Access | Standard — One basic SLA policy with no conditions
Plus — Two SLA policies with conditions Pro — Unlimited SLA policies with conditions |
| User Roles and Permissions | All users with the Inbox: Manage SLA policies permission |
Create a Policy
-
To create a new SLA policy, navigate to Manage > Inboxes > [Your Inbox] > SLAs, then select New SLA Policy.


-
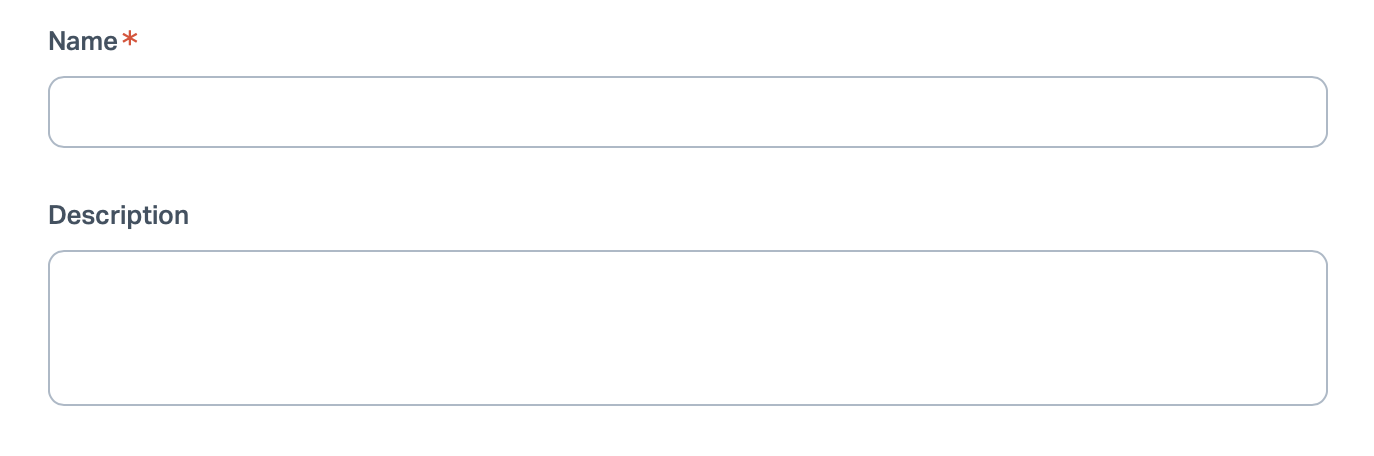
Enter a name for your policy and add a description. Use this space to outline the goal of the policy, who it applies to, and any other relevant context.

-
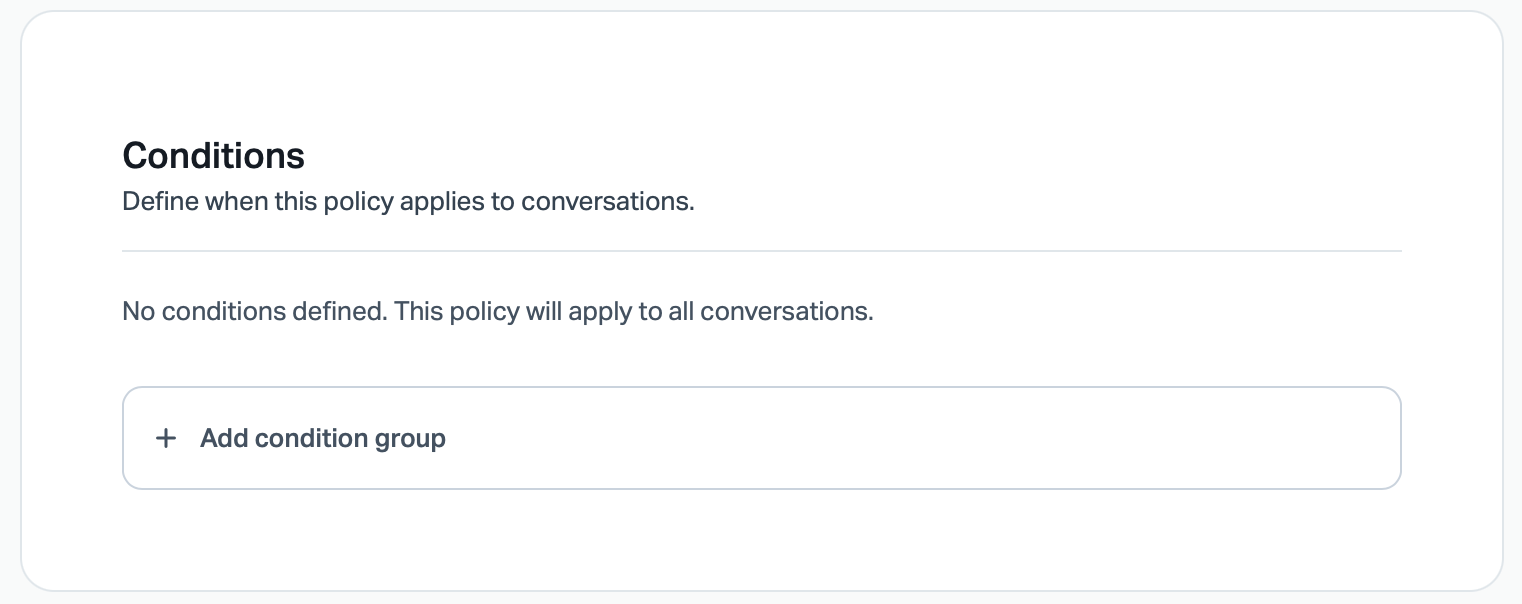
Plus and Pro plans can define the conditions that determine when this policy applies to conversations. If you set no conditions, or you are on a Standard plan, the policy applies to all conversations.
Select Add Condition Group to begin. Choose from the following condition types:
- Company: Define specific companies to include or exclude.
- Customer Property: Apply policies based on customer properties you've set up beforehand.
- Custom Field: Apply policies based on custom fields you've set up beforehand.

-
Define your time targets. You do not need to enable both time targets, but you must enable at least one. You have two options:
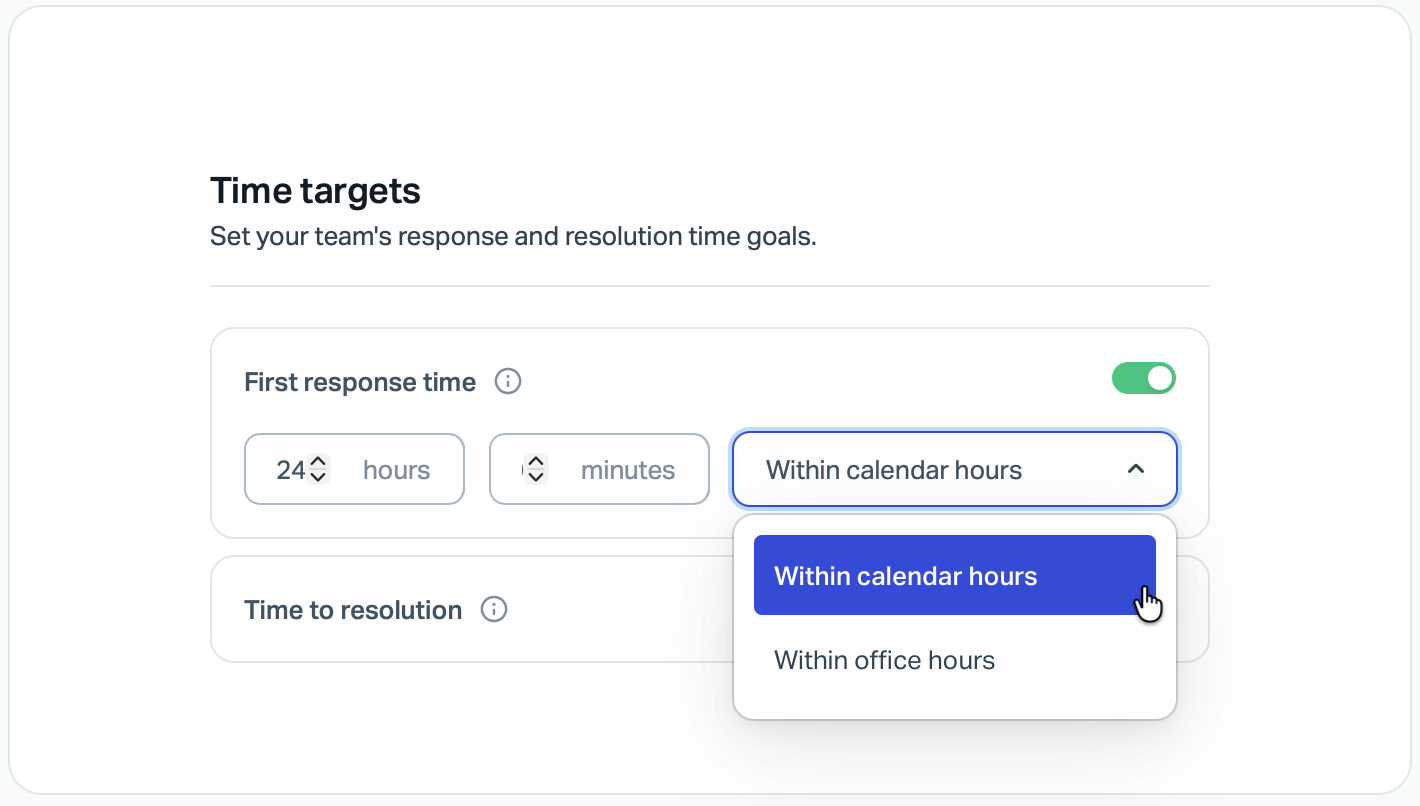
- First Response Time: The time allowed to send the first response to a customer. You can set this in hours or minutes, with the option to measure within calendar hours or within office hours. Toggle this on to enable it for your policy.
- Time to Resolution: The time allowed to resolve a conversation. In Help Scout, "resolved" means closed with at least one user response. You can set this in hours or minutes, with the option to measure within calendar hours or within office hours. Toggle this on to enable it for your policy.

- Click Save to create your policy.
Use SLAs to Sort the Inbox
Use Column Management to display the SLA status for conversations in the Inbox list view, then click on the header to sort by the SLA.
- Click Edit Columns in the top right corner to find the option to Add Column. Choose SLA Target.
- Click on the SLA Target column header to sort by that option.
Manage SLA Policies
Order of Operations
SLA policies are applied in the order they appear in your list at Manage > Inboxes > [Your Inbox] > SLAs. The first matching policy in the list applies to the conversation, so put your highest-priority policies first.
New policies are added to the bottom of the list by default. To reorder them, click the icon to the left of the policy name, hold, and drag a policy to your preferred position.
Note: As Standard plan accounts can only have one policy, there is no ordering available. Your Account Owner can upgrade to Plus or Pro to have multiple policies that can be ordered.
Deactivate a Policy
Temporarily disable a policy without deleting it by selecting the policy from the list, toggling off Enable SLA, and then clicking the Save button.

Delete a Policy
Permanently remove a policy by selecting it from the list and choosing Delete SLA. Confirm the deletion by selecting Delete Policy.
Report on SLAs
Head over to Reports: SLAs for the full details on available reporting.