Categorize Conversations Automatically With AI Topics
By automatically assigning a topic — such as "Billing Issues," "Feature Requests," or "Account Access" — Topics creates a structured dataset from unstructured conversation data. This helps you spot trends, build filtered views, power workflows, and make data-driven decisions without any manual effort.
| Permissions & Plans Access | |
|---|---|
| Plans With Access | Current Plus and Pro Plans (Legacy plans do not have access) |
| User Roles and Permissions | Account Owners and Administrators can manage Topics |
In this article
How Topics Works
Topics are configured per inbox, meaning each inbox has its own set of AI-generated topics tailored to its specific conversation patterns. When you enable Topics, the AI generates approximately 8 to 15 unique topics based on your history.
You'll have a chance to review the topics and make edits before approving them. Once approved, it backfills about the last month of conversations (excluding Spam and Deleted folders) so you can see valuable data right away.

The AI runs a daily job that scans recent conversations to identify new patterns. If a significant new trend emerges, it can automatically create a new topic. While you can manually override topics, these manual changes do not currently feed back into the AI model during the beta period.
Enable Topics in Your Inbox
Follow these steps to set up Topics for the first time:
- Navigate to Manage > Inbox, select your preferred inbox, and click Topics in the left navigation menu. Click the Get Started button. The system will begin generating topics based on your conversation data.
- Review the curated list of topics. The list is sorted alphabetically and includes an emoji, name, and description for each topic. You can edit, delete, or add new topics here.
- Click Apply Topics. This starts the backfill process for your past conversations and begins categorizing new incoming messages. A progress bar will show the status of the backfill, which typically completes within minutes to a few hours. You will receive a notification in the Notification Station when it is ready.
After applying topics, you can manage and refine them as your support needs evolve.
Note: If you enable Topics but don't see them loading, ensure your inbox has at least 100 conversations. If it does, the backfill process might still be running. For large inboxes, this can take up to a few hours. You can check the progress bar in your Topics settings.
Uncategorized Topic
When you see a conversation set with Uncategorized, this means the AI did not have high enough confidence to assign a specific topic. This often happens with very short messages, general greetings, or conversations that do not clearly fit an existing topic. You can always manually assign a topic from the conversation header.
Manage Your Topics
You can customize your topics at any time from the Topics settings page:
-
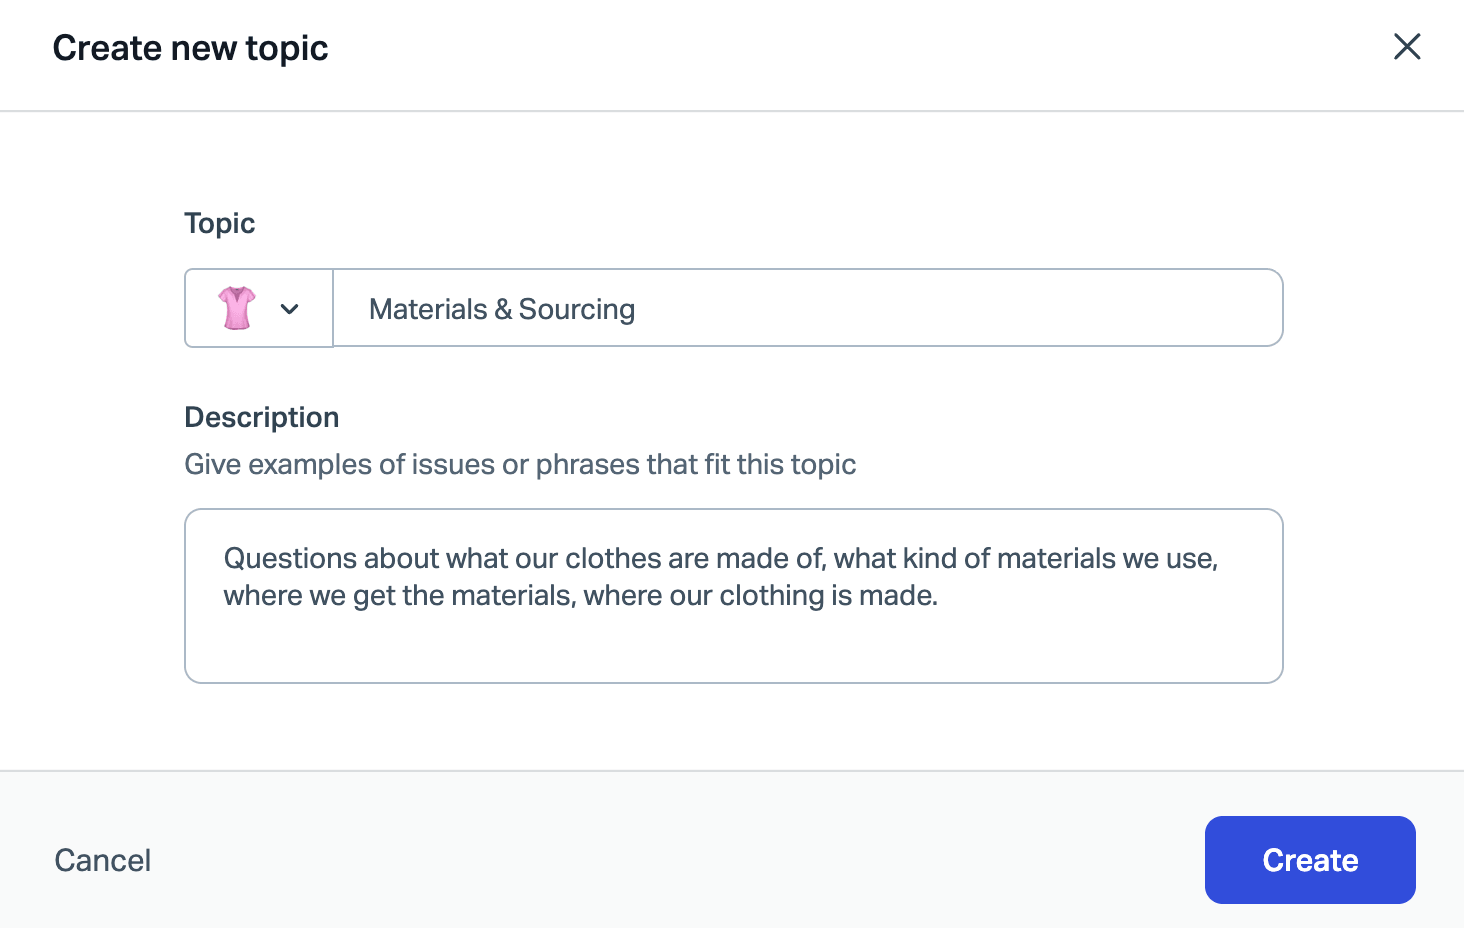
Add a Topic: Click Add Topic to create a custom topic with your own emoji, name, and description.
-
Edit a Topic: Click any topic in the list to change its emoji, name, or description.
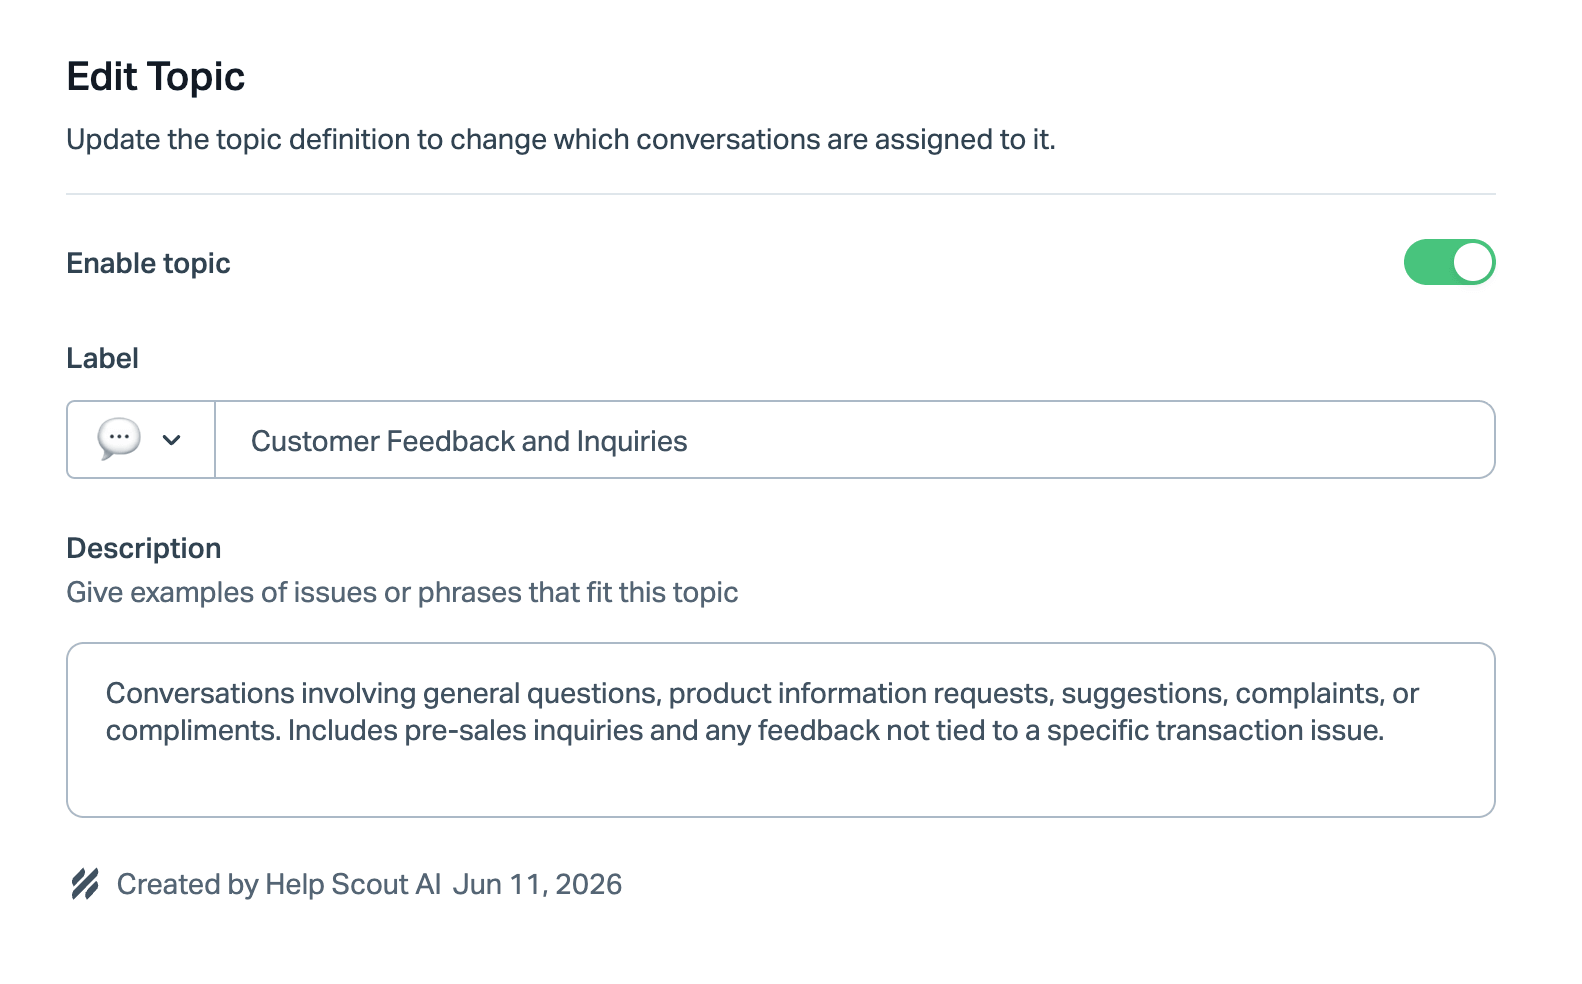
- Disable a Topic: Click into the topic and toggle off Enable topic to stop the AI from assigning new conversations to this topic. Existing conversations will keep the topic, but it will no longer appear in the dropdown for manual assignment.


Topic Description Best Practices
Follow these best practices when writing or editing topic descriptions to help the AI categorize conversations accurately:
- Define the coverage: Explain what the topic covers in one plain sentence. For example: "Billing: Questions about charges, invoices, payment methods, and subscription costs."
- Provide examples: Give 2 or 3 concrete examples of matching conversations. For example: "A customer disputing a charge, asking why they were billed twice, or updating a card on file."
- Draw clear boundaries: Call out what does not belong, especially compared to neighboring topics. For example: "Does not include refund requests (see Returns & Refunds) or questions about what a plan includes (see Plans & Pricing)."
With your topics fully configured, they become powerful tools across your entire support queue.
Use Topics Across Help Scout
Topics integrates seamlessly with your existing tools:
- Conversation View: Topics appear in the conversation header near tags. You can click the topic to open a dropdown and manually change it. This manual override replaces the AI assignment.
- Conversation List and Views: Add Topics as a custom column in your conversation list, or use them as filters to organize your queue. To learn more about views, see Create and Manage Inbox Views.
- Search: Search for specific topics using the operator
~topic@InboxName:TopicValue. Autocomplete will suggest values as you type. For more search tips, see Search in Help Scout. - Workflows: Use Topics as a condition in automatic workflows to route or manage conversations. Note that during the beta period, Topics can only be used as a condition, not as an action. See Get Started With Workflows and Workflow Conditions and Actions.
- Reports: Head to Reports > Topics to view the report showing volume over time across Topics in an Inbox.