Auto-forward From Zoho Mail to Help Scout
Zoho Mail is a hosted business email service that supports custom domain addresses and integrates with the broader Zoho productivity suite.
This guide will help you set up automatic forwarding from a Zoho Mail account.
Before You Start
You will need to have these things available to you before you start:
Zoho Mail Paid Plans
Supported plans include Zoho Workplace Standard, Workplace Professional, Mail Lite, and Mail Premium. Zoho Mail Forever Free cannot be used with Help Scout because it does not support automatic forwarding.
- Log in to https://mail.zoho.com as the email account you wish to forward.
-
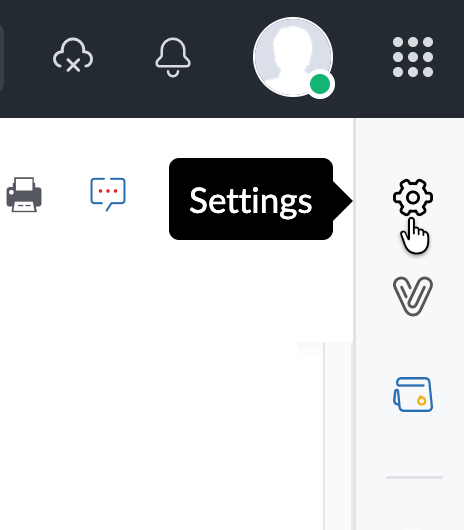
Look for the gear icon on the right navigation bar to open Settings.

-
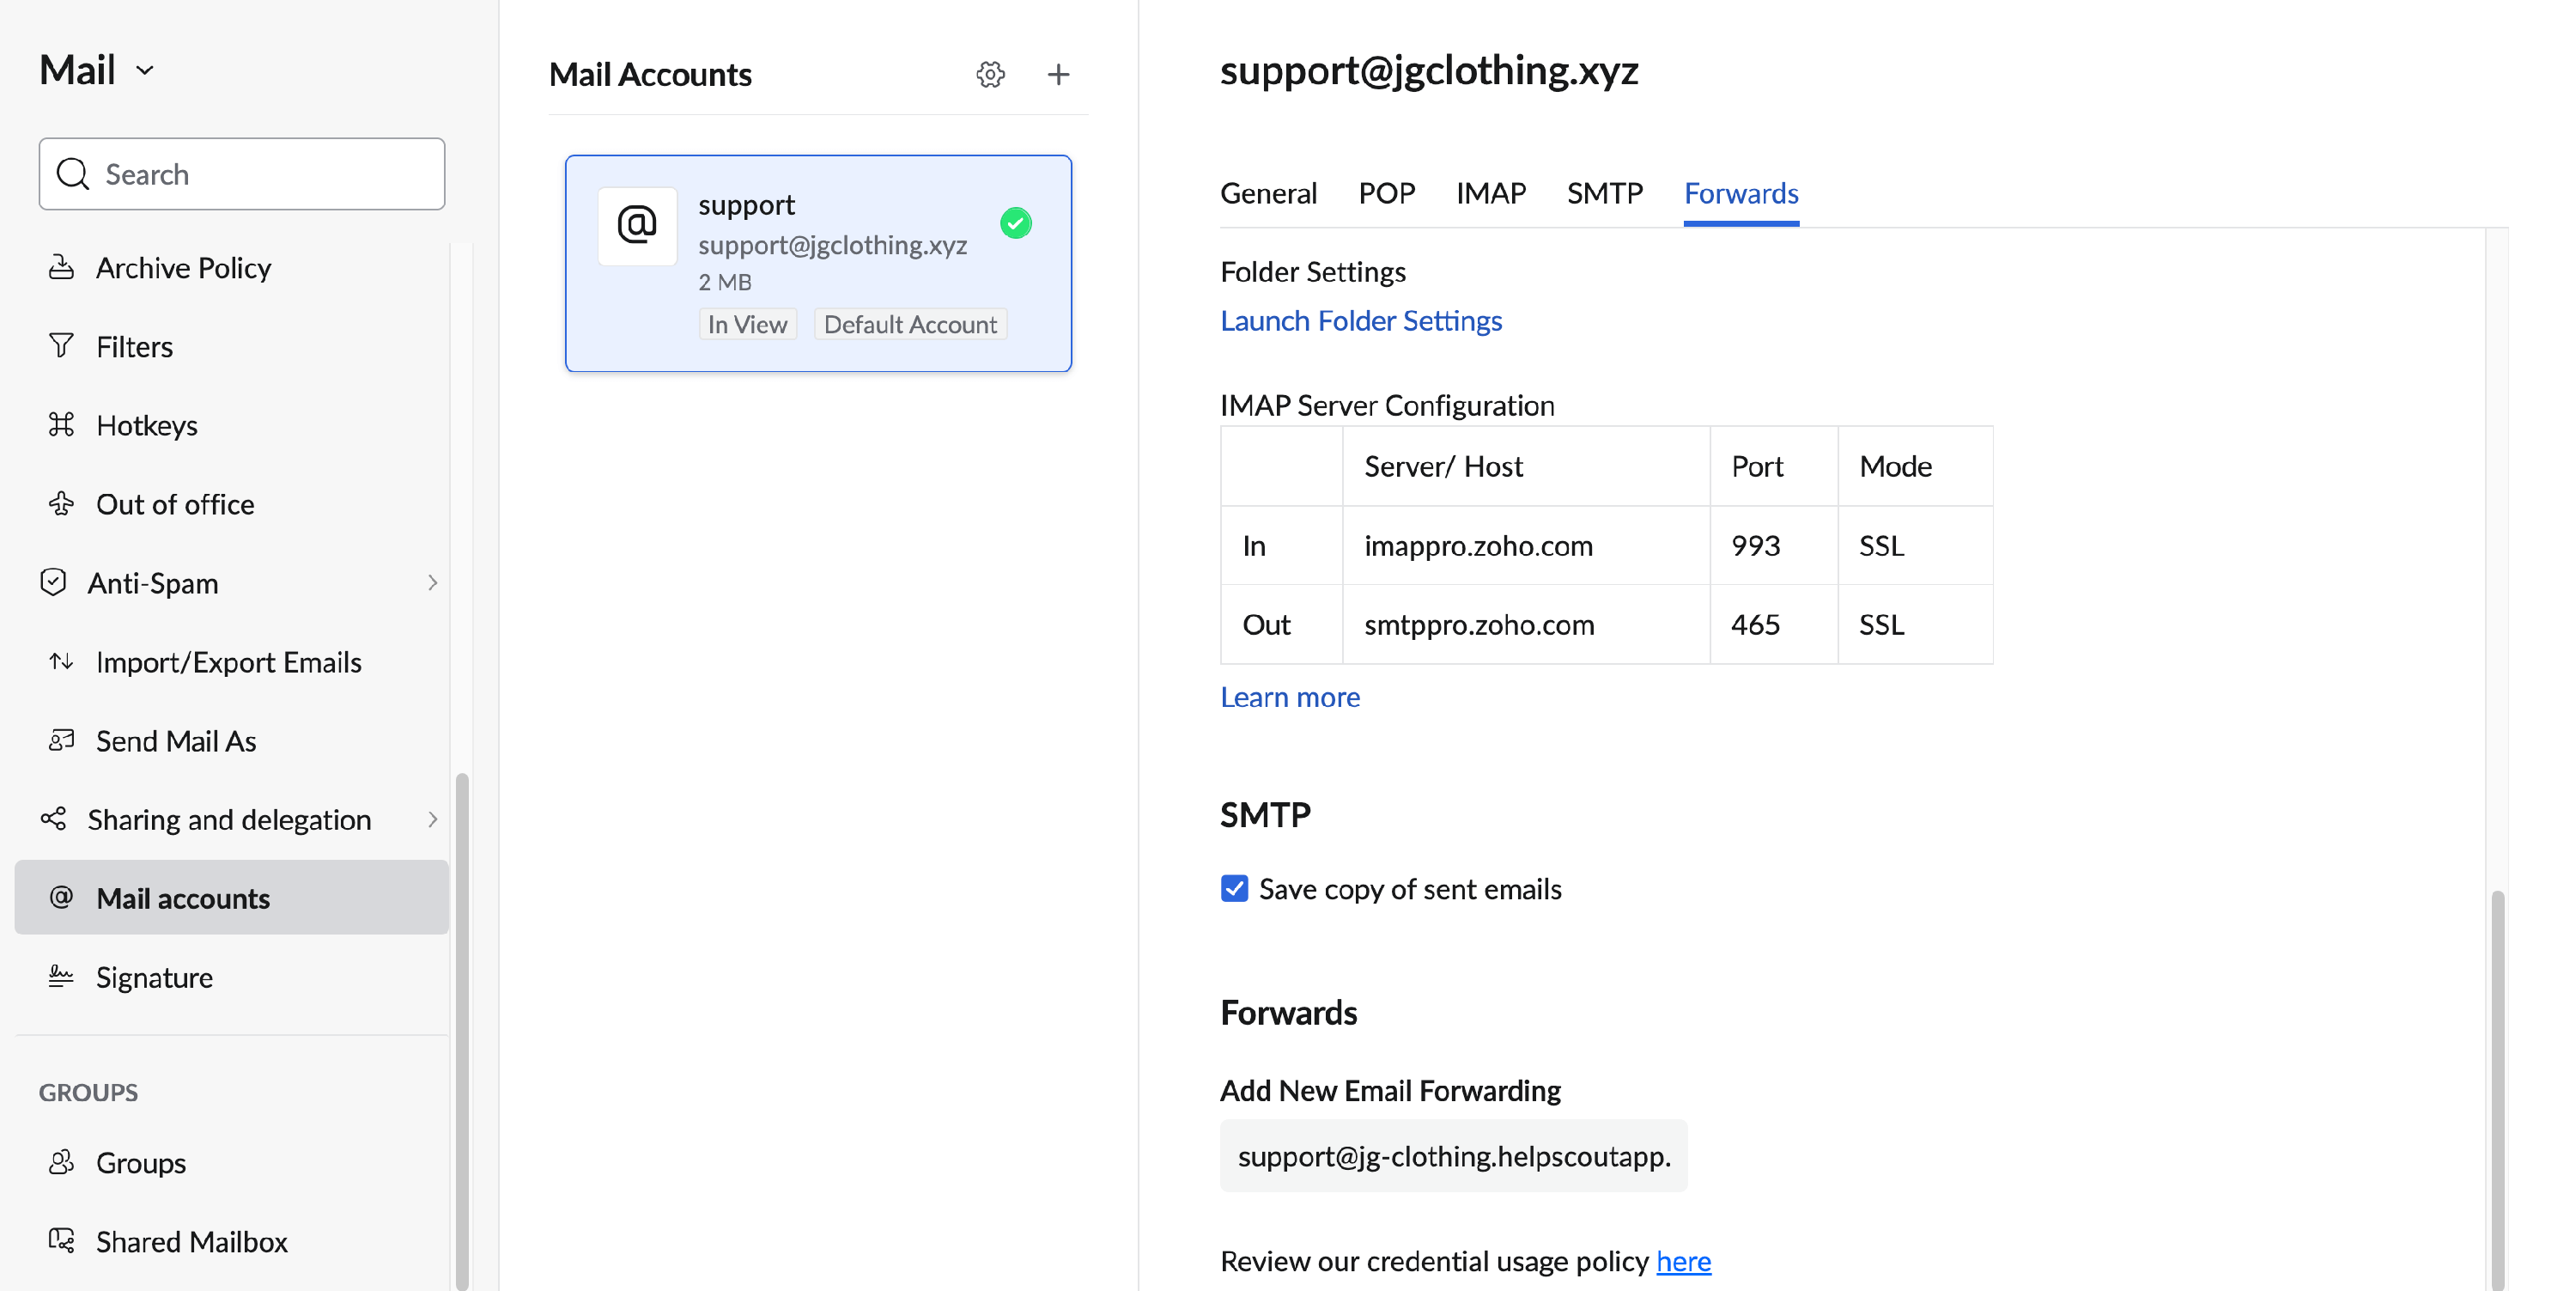
Find Mail Accounts in the left side navigation of the modal window that appears, and select the account you wish to forward in the center panel. Then scroll to the bottom of the right panel to add a forwarding address.
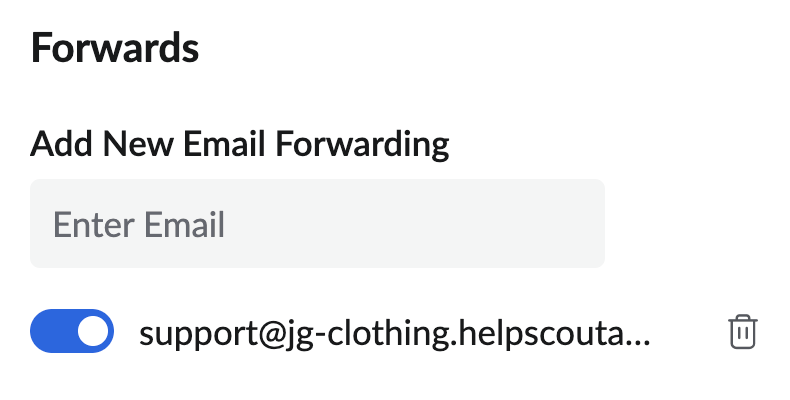
Paste or type in your Help Scout Inbox address and hit return/enter to save it.
-
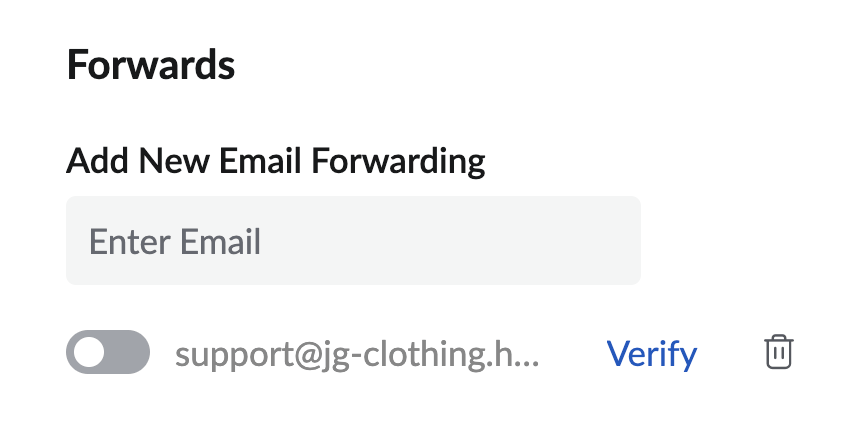
Note that the forwarding address shows below with a link to Verify it.


-
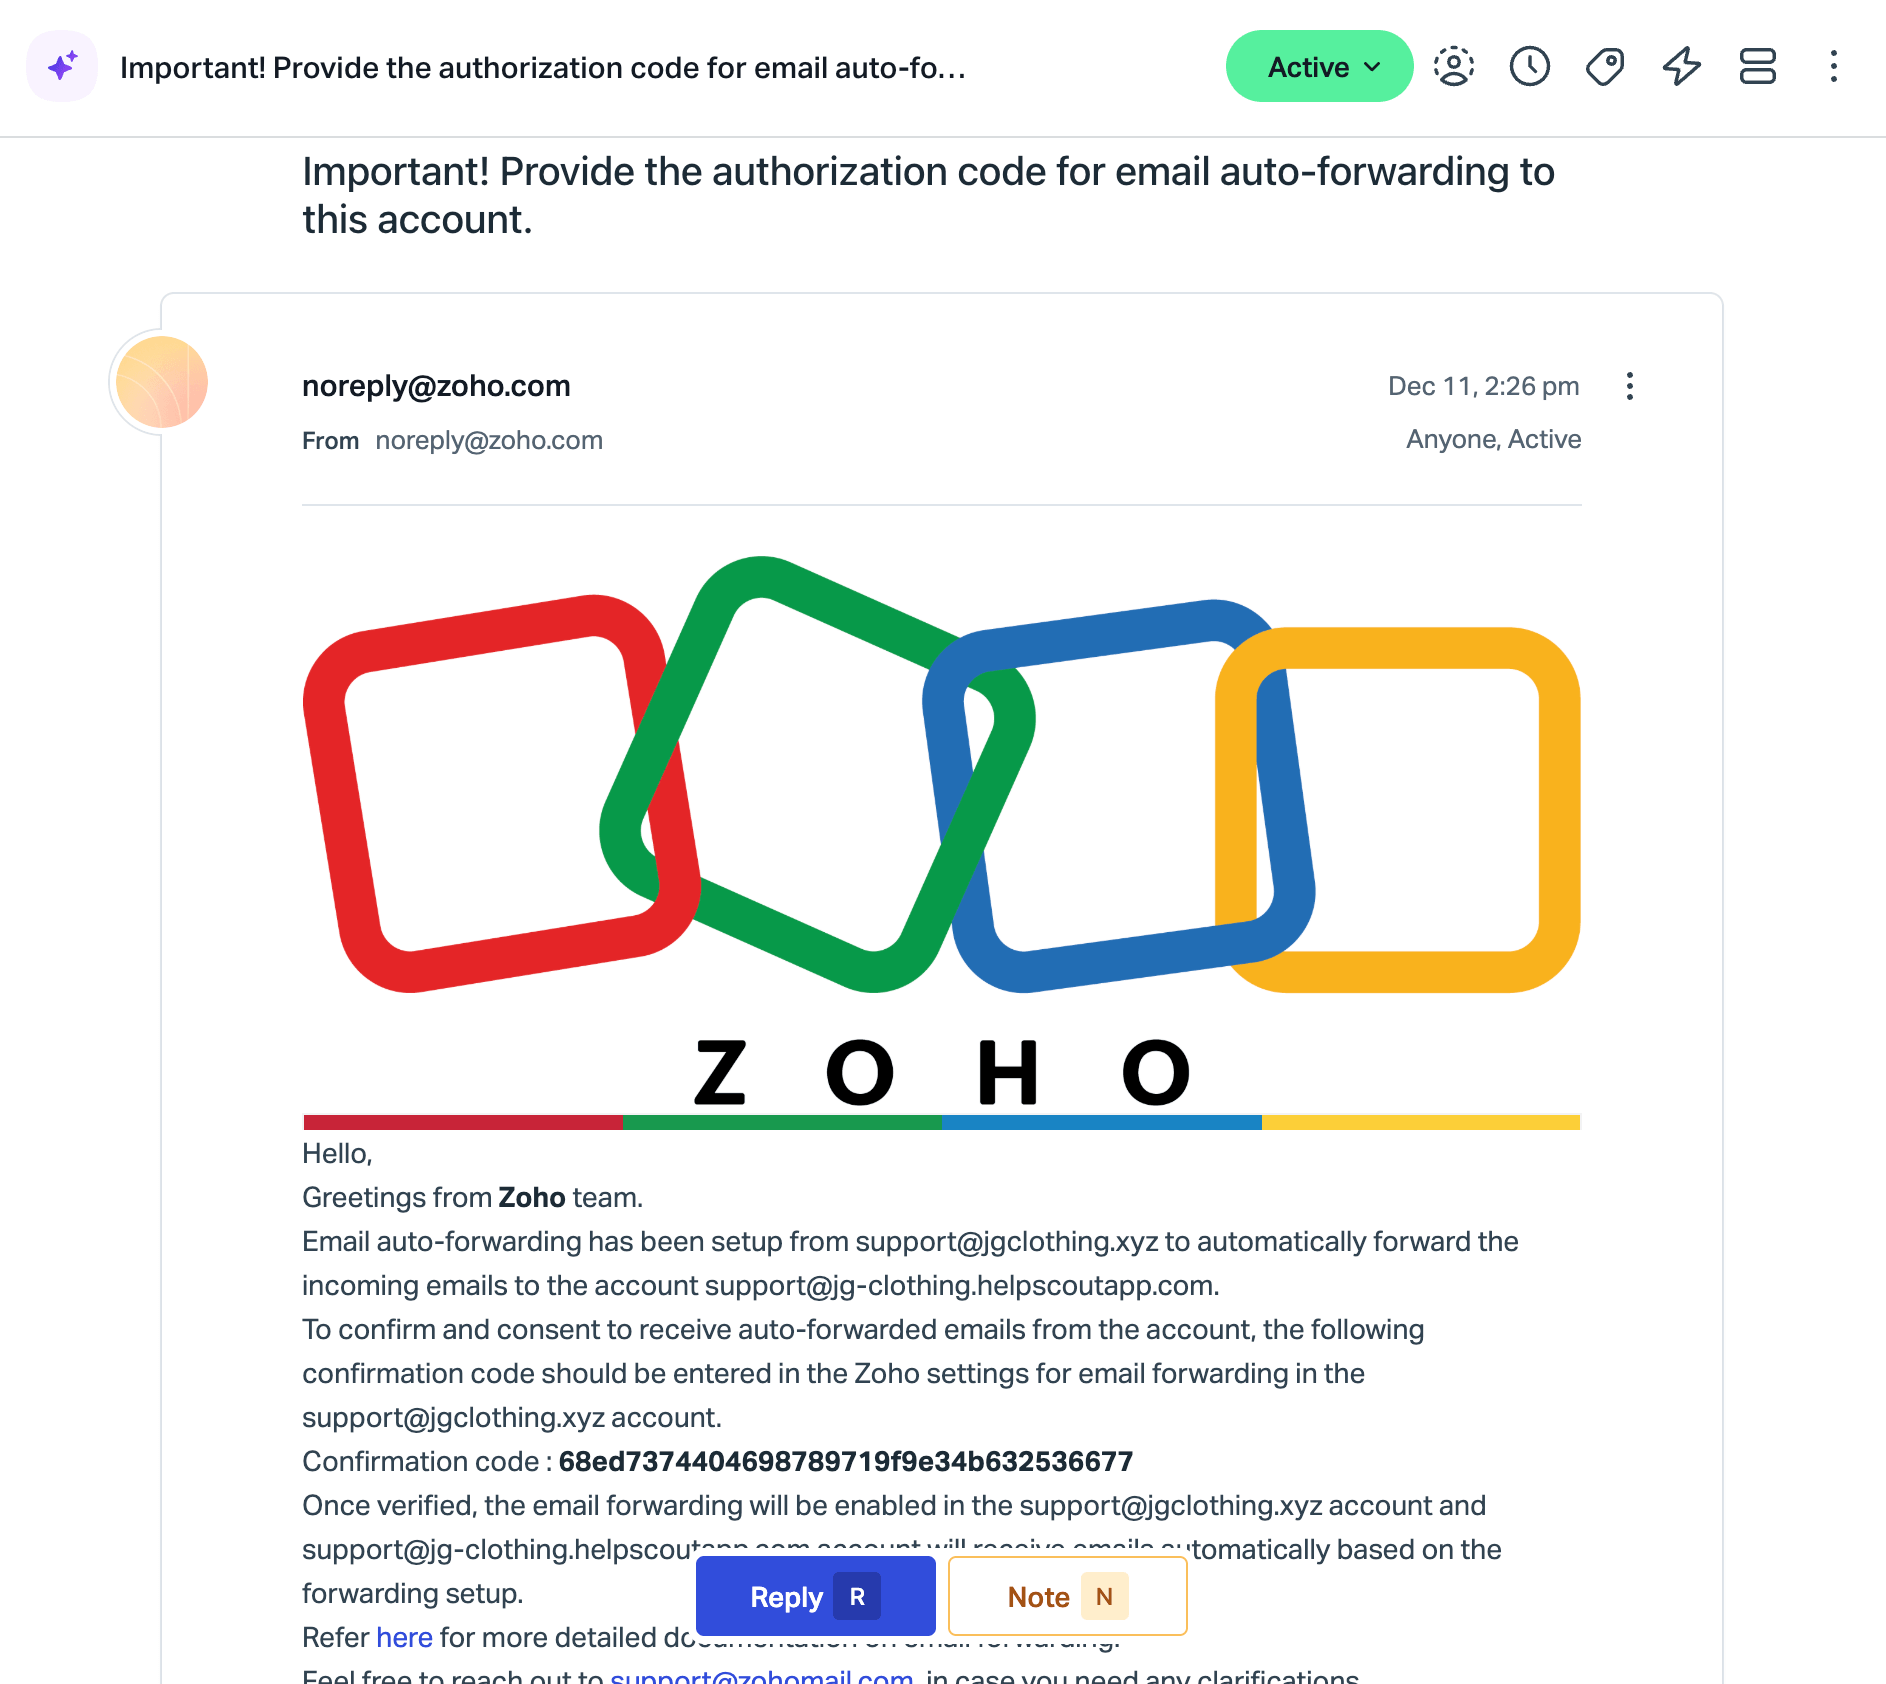
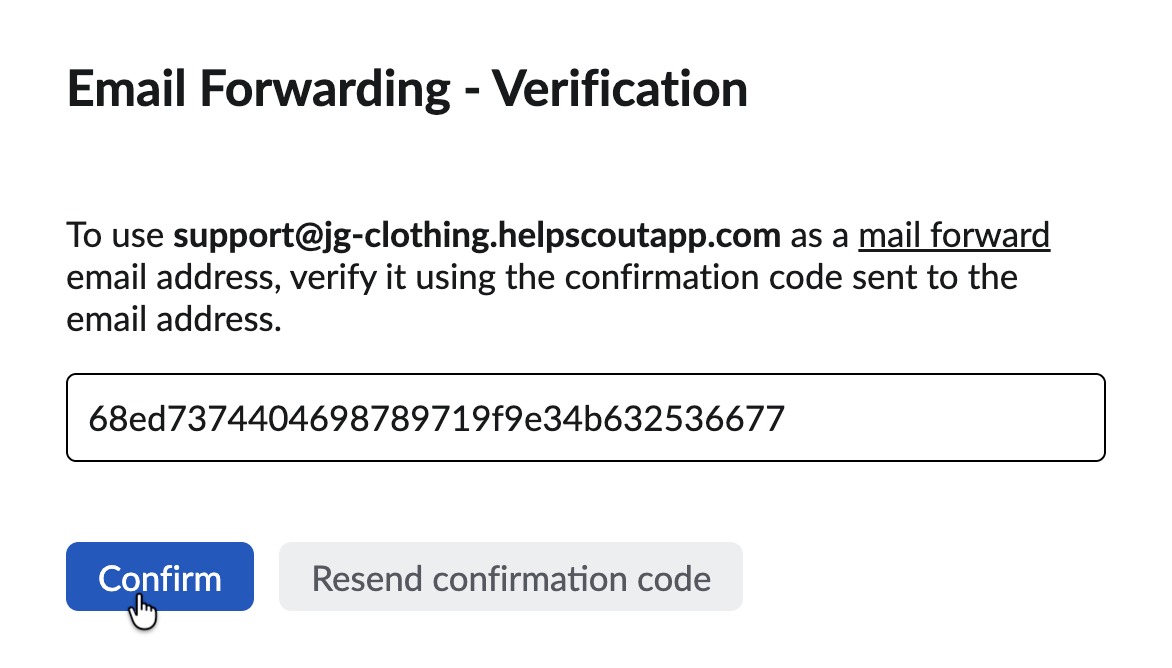
Head back to your Help Scout Inbox, where you'll find an email from Zoho with a verification code. Copy that code from the email.

-
Now back over to Zoho — click Verify then paste in your verification code from the email in Help Scout.
-
Make sure the toggle is in the on position.


- Now head back to Manage > Inboxe(s) in Help Scout and choose the inbox you're connecting to Zoho. Click Send Test to confirm the forwarding is set up.
That's it! You're all set!
Next steps: Set up DKIM to allow Help Scout servers to send email on your behalf, or set up Custom SMTP to have your email sent from Zoho's servers.
Need more help with forwarding from Zoho? Your best bet is Zoho support from here. You can check out their help section here: Zoho Mail Help Home: Email Forwarding or reach out to their team for more help.