Set Up Scout
Scout is the new name for the AI agent and AI chat in Help Scout. If you previously configured an AI agent, you can find your settings and details under Tools > Scout.
Scout uses your knowledge sources to answer customer questions automatically in Beacon and routes complex conversations to your team.
For more about the changes, check out Introducing Scout.
Set up Scout
-
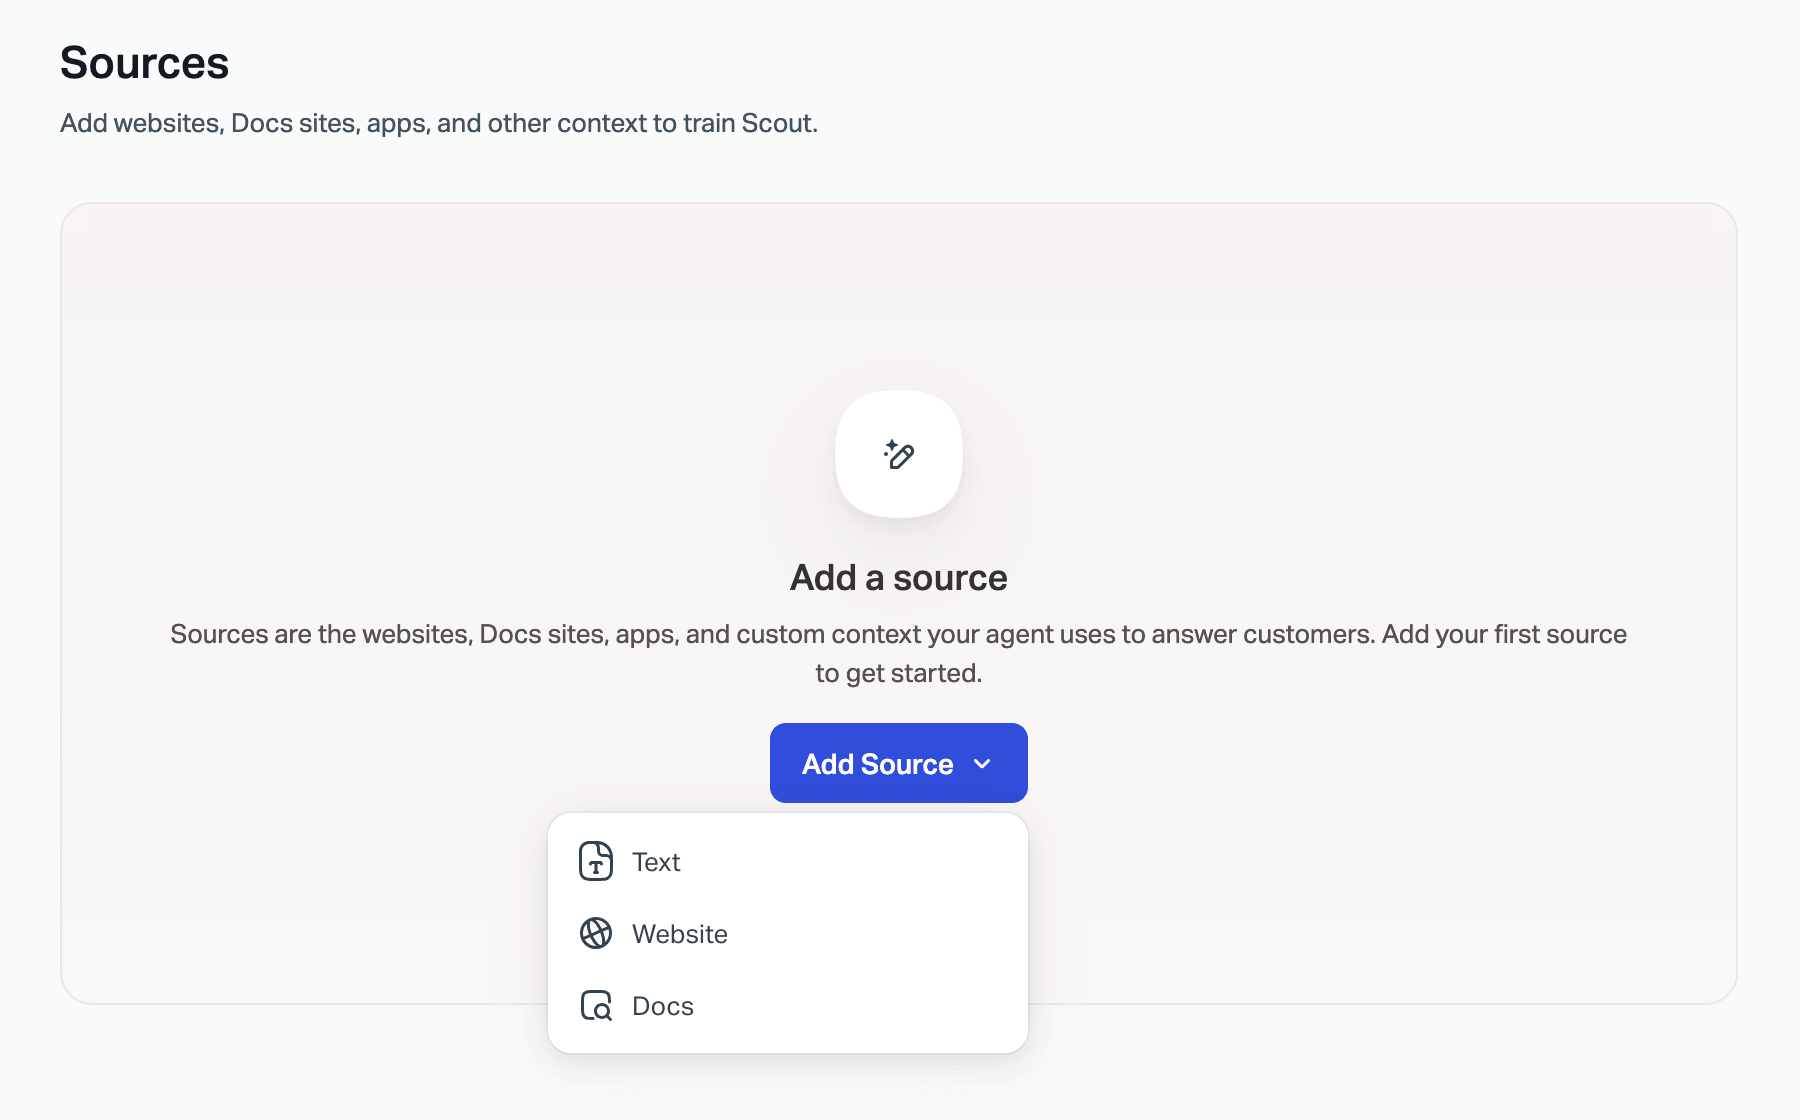
Navigate to Scout > Manage. You start on the Sources page where you'll tell Scout how to find the right answers. Click Add Source, then choose your source type.
-
Text
Add smaller bits of knowledge or nuance to your published Docs and sources. Use them to introduce new information or clarifications to answers that Scout gives.
-
Website
You'll be given the option to sync the just the page you enter, the entire site, or customize your selection. Content of any PDFs, Word, or Excel documents in the space you add can also be synced, or link to those directly.
NOTE: Google Docs can be added as well, but they will need to be added 1-by-1 as single entries in order for those to sync. Make sure that the Google Doc or Sheet is shared to "anyone with the link," and then just add the link as a website!
If there are changes made to your website sources — such as a pricing change, new stock, changes in procedures, etc. — you'll want to come back to these settings to resync the source manually so that the AI Agent is updated with that new information.
-
Docs
Choose the Help Scout Docs site that your agent will use to find answers. If you utilize a different knowledge base manager, you can just add your live knowledge base as a website instead.
-
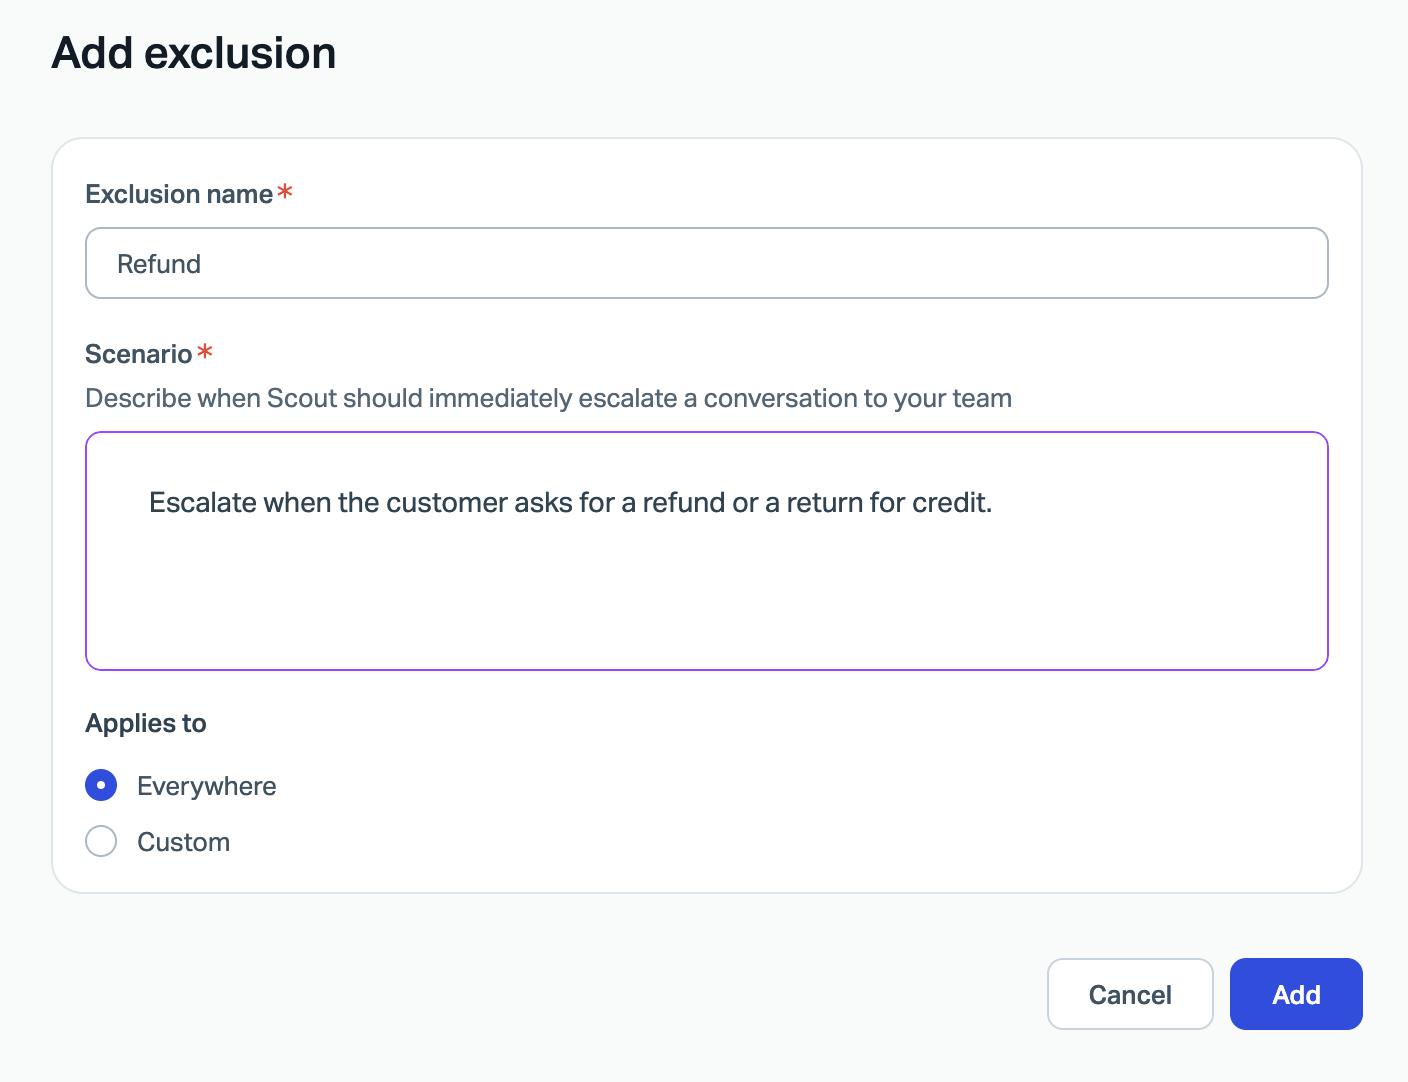
Click Exclusions under Behavior to specify topics that Scout should escalate immediately to your team. Enter an exclusion name and describe the escalation scenario, then click Add.
Use exclusions to set clear boundaries and have the agent escalate the conversation to your team right away.
-
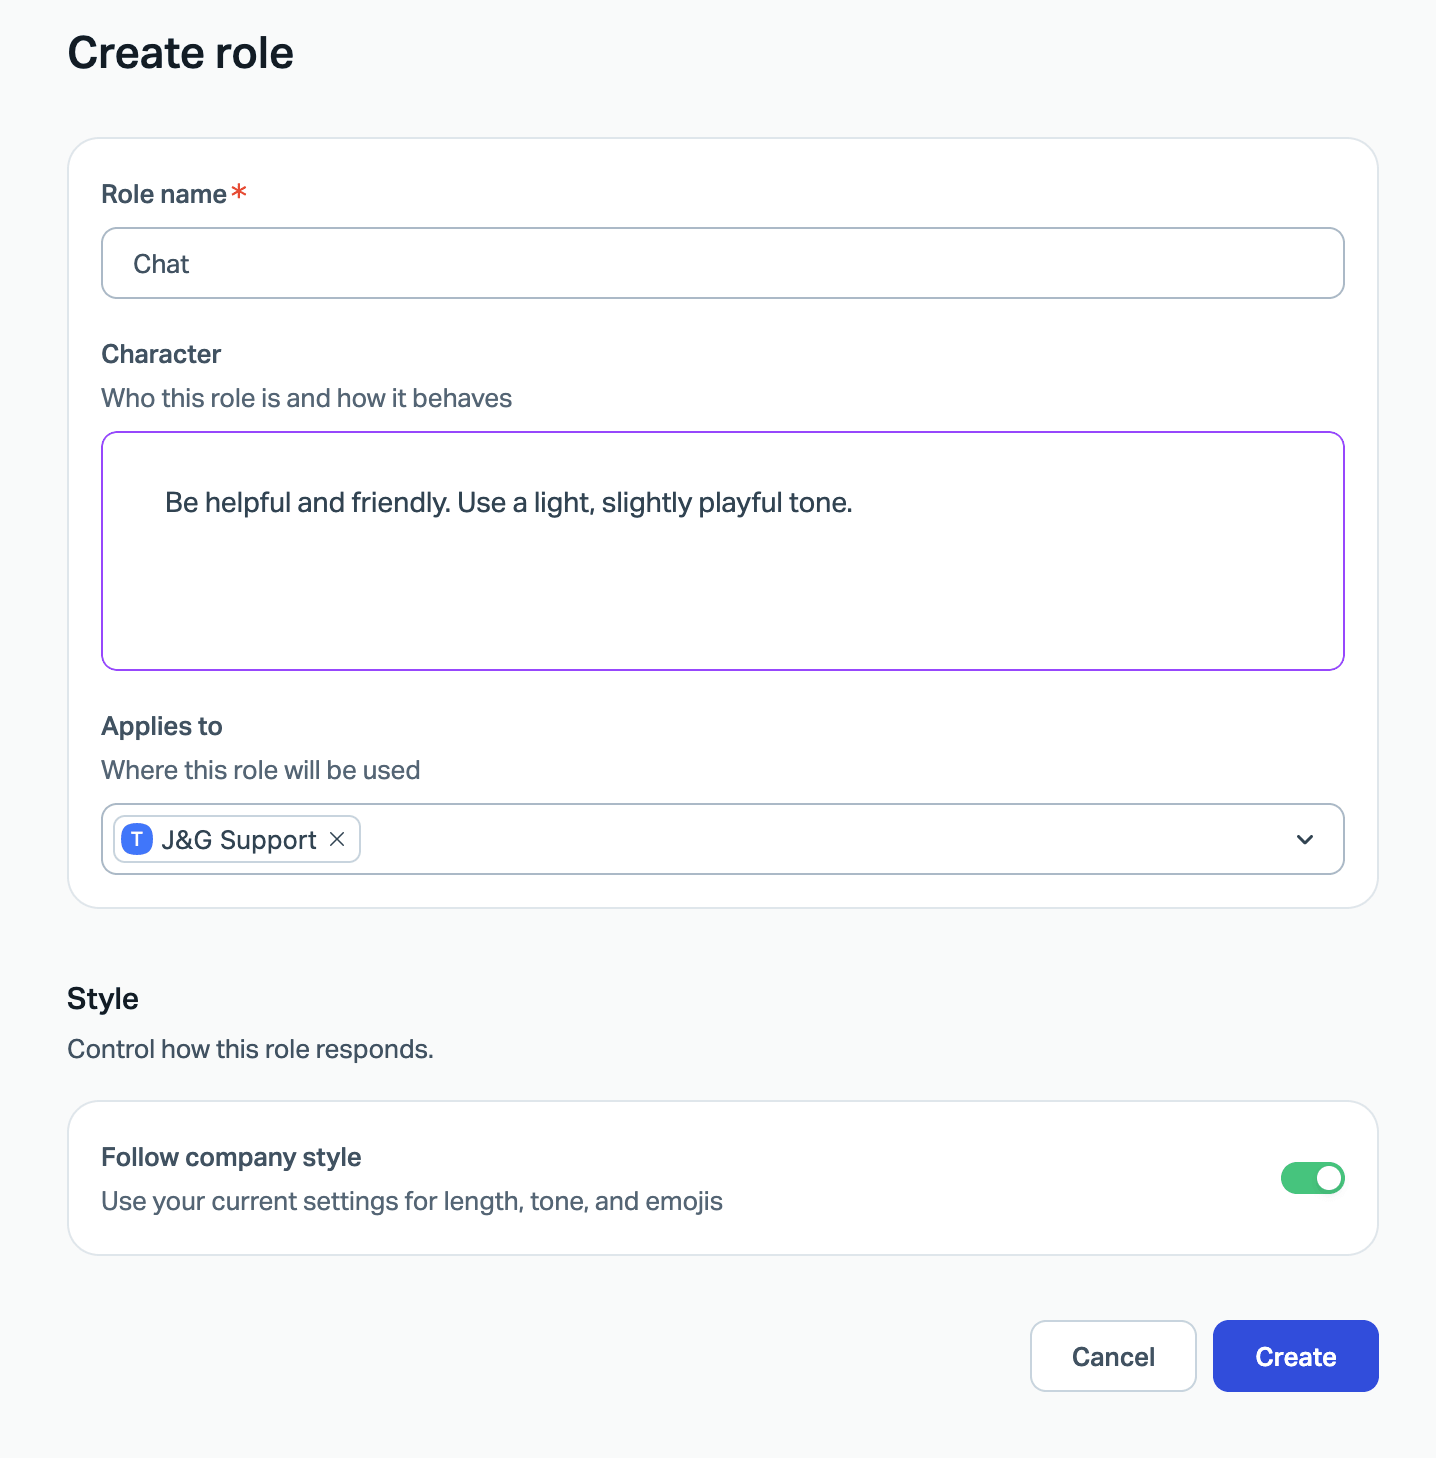
Click Roles under Behavior, then click Create role to define your agent's tone and boundaries. Enter a role name, add behavior guidelines in the Character field, and click Create.
Add your brand's voice and tone, give Scout explicit instructions on how to — or how not to — reply in general, and tailor it for your audience. Create new roles if you have multiple ways you'd like to use Scout.
-
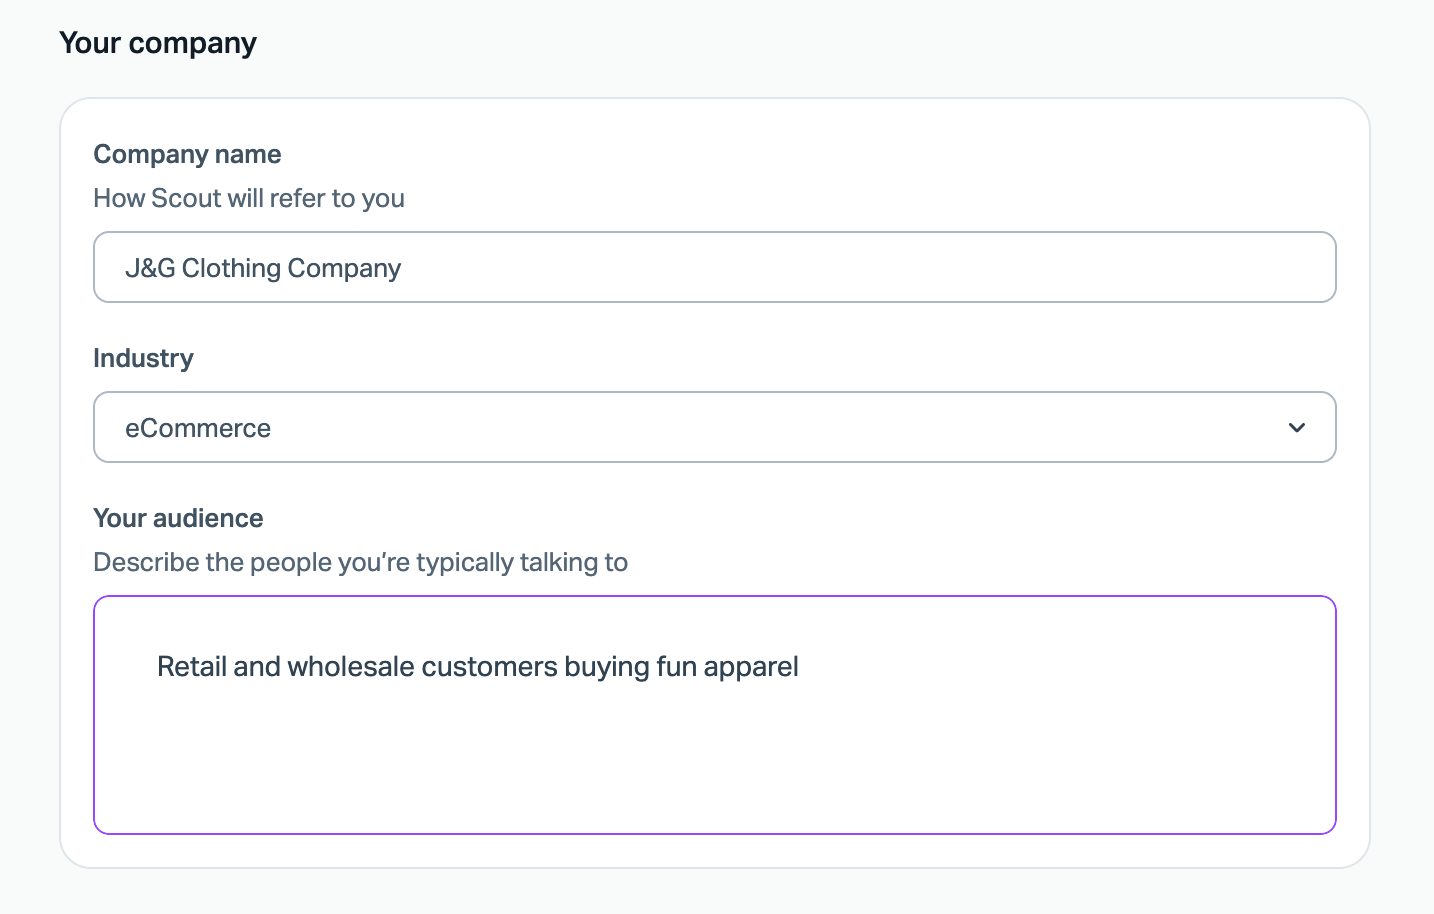
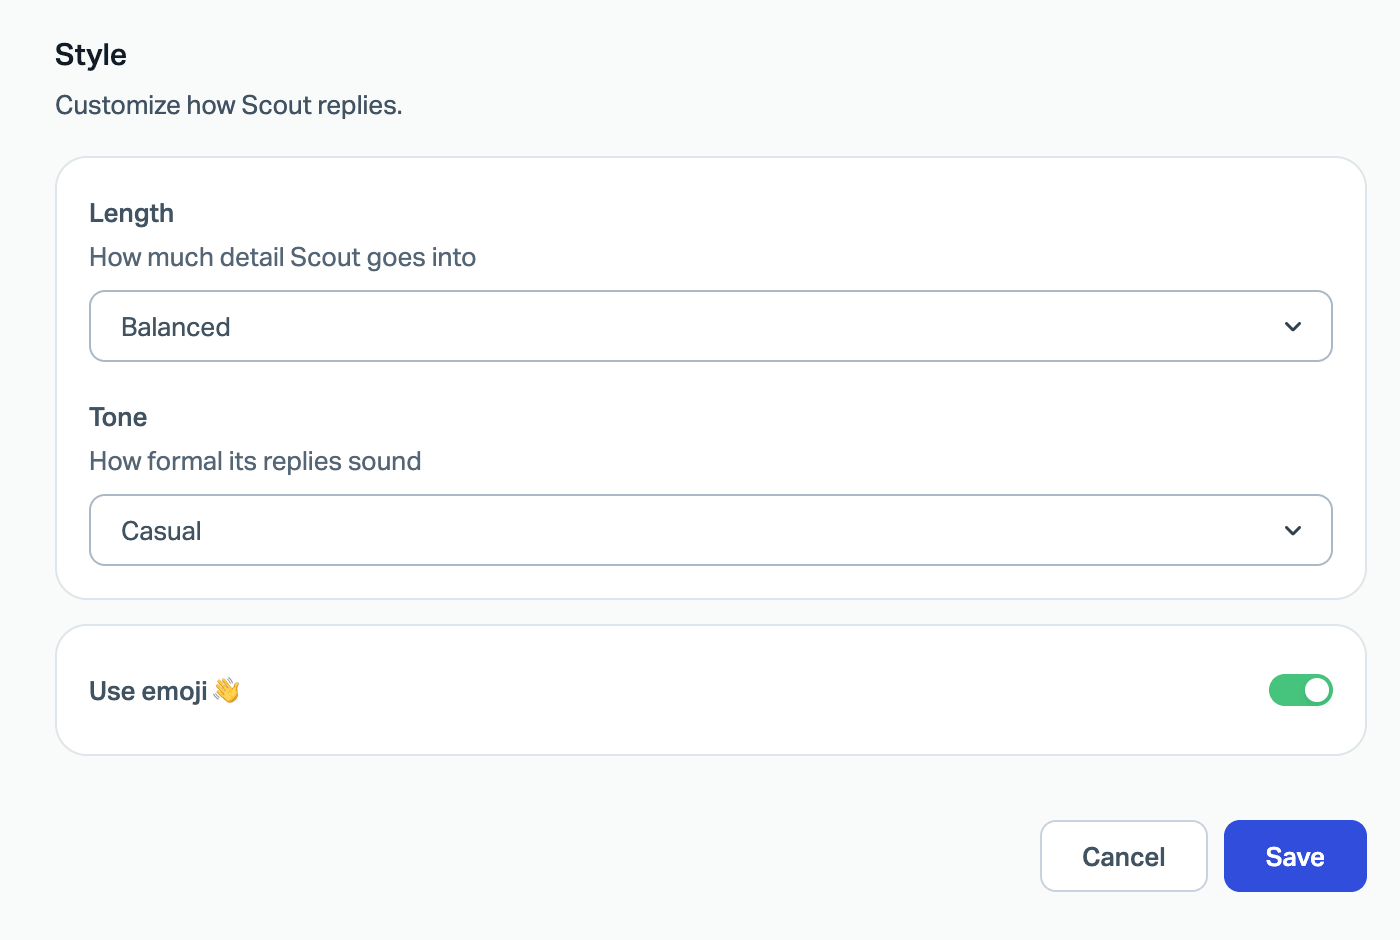
Click Settings under Behavior to set your company information, and to adjust reply length, tone, and emoji preferences under Style, then click Save.
-
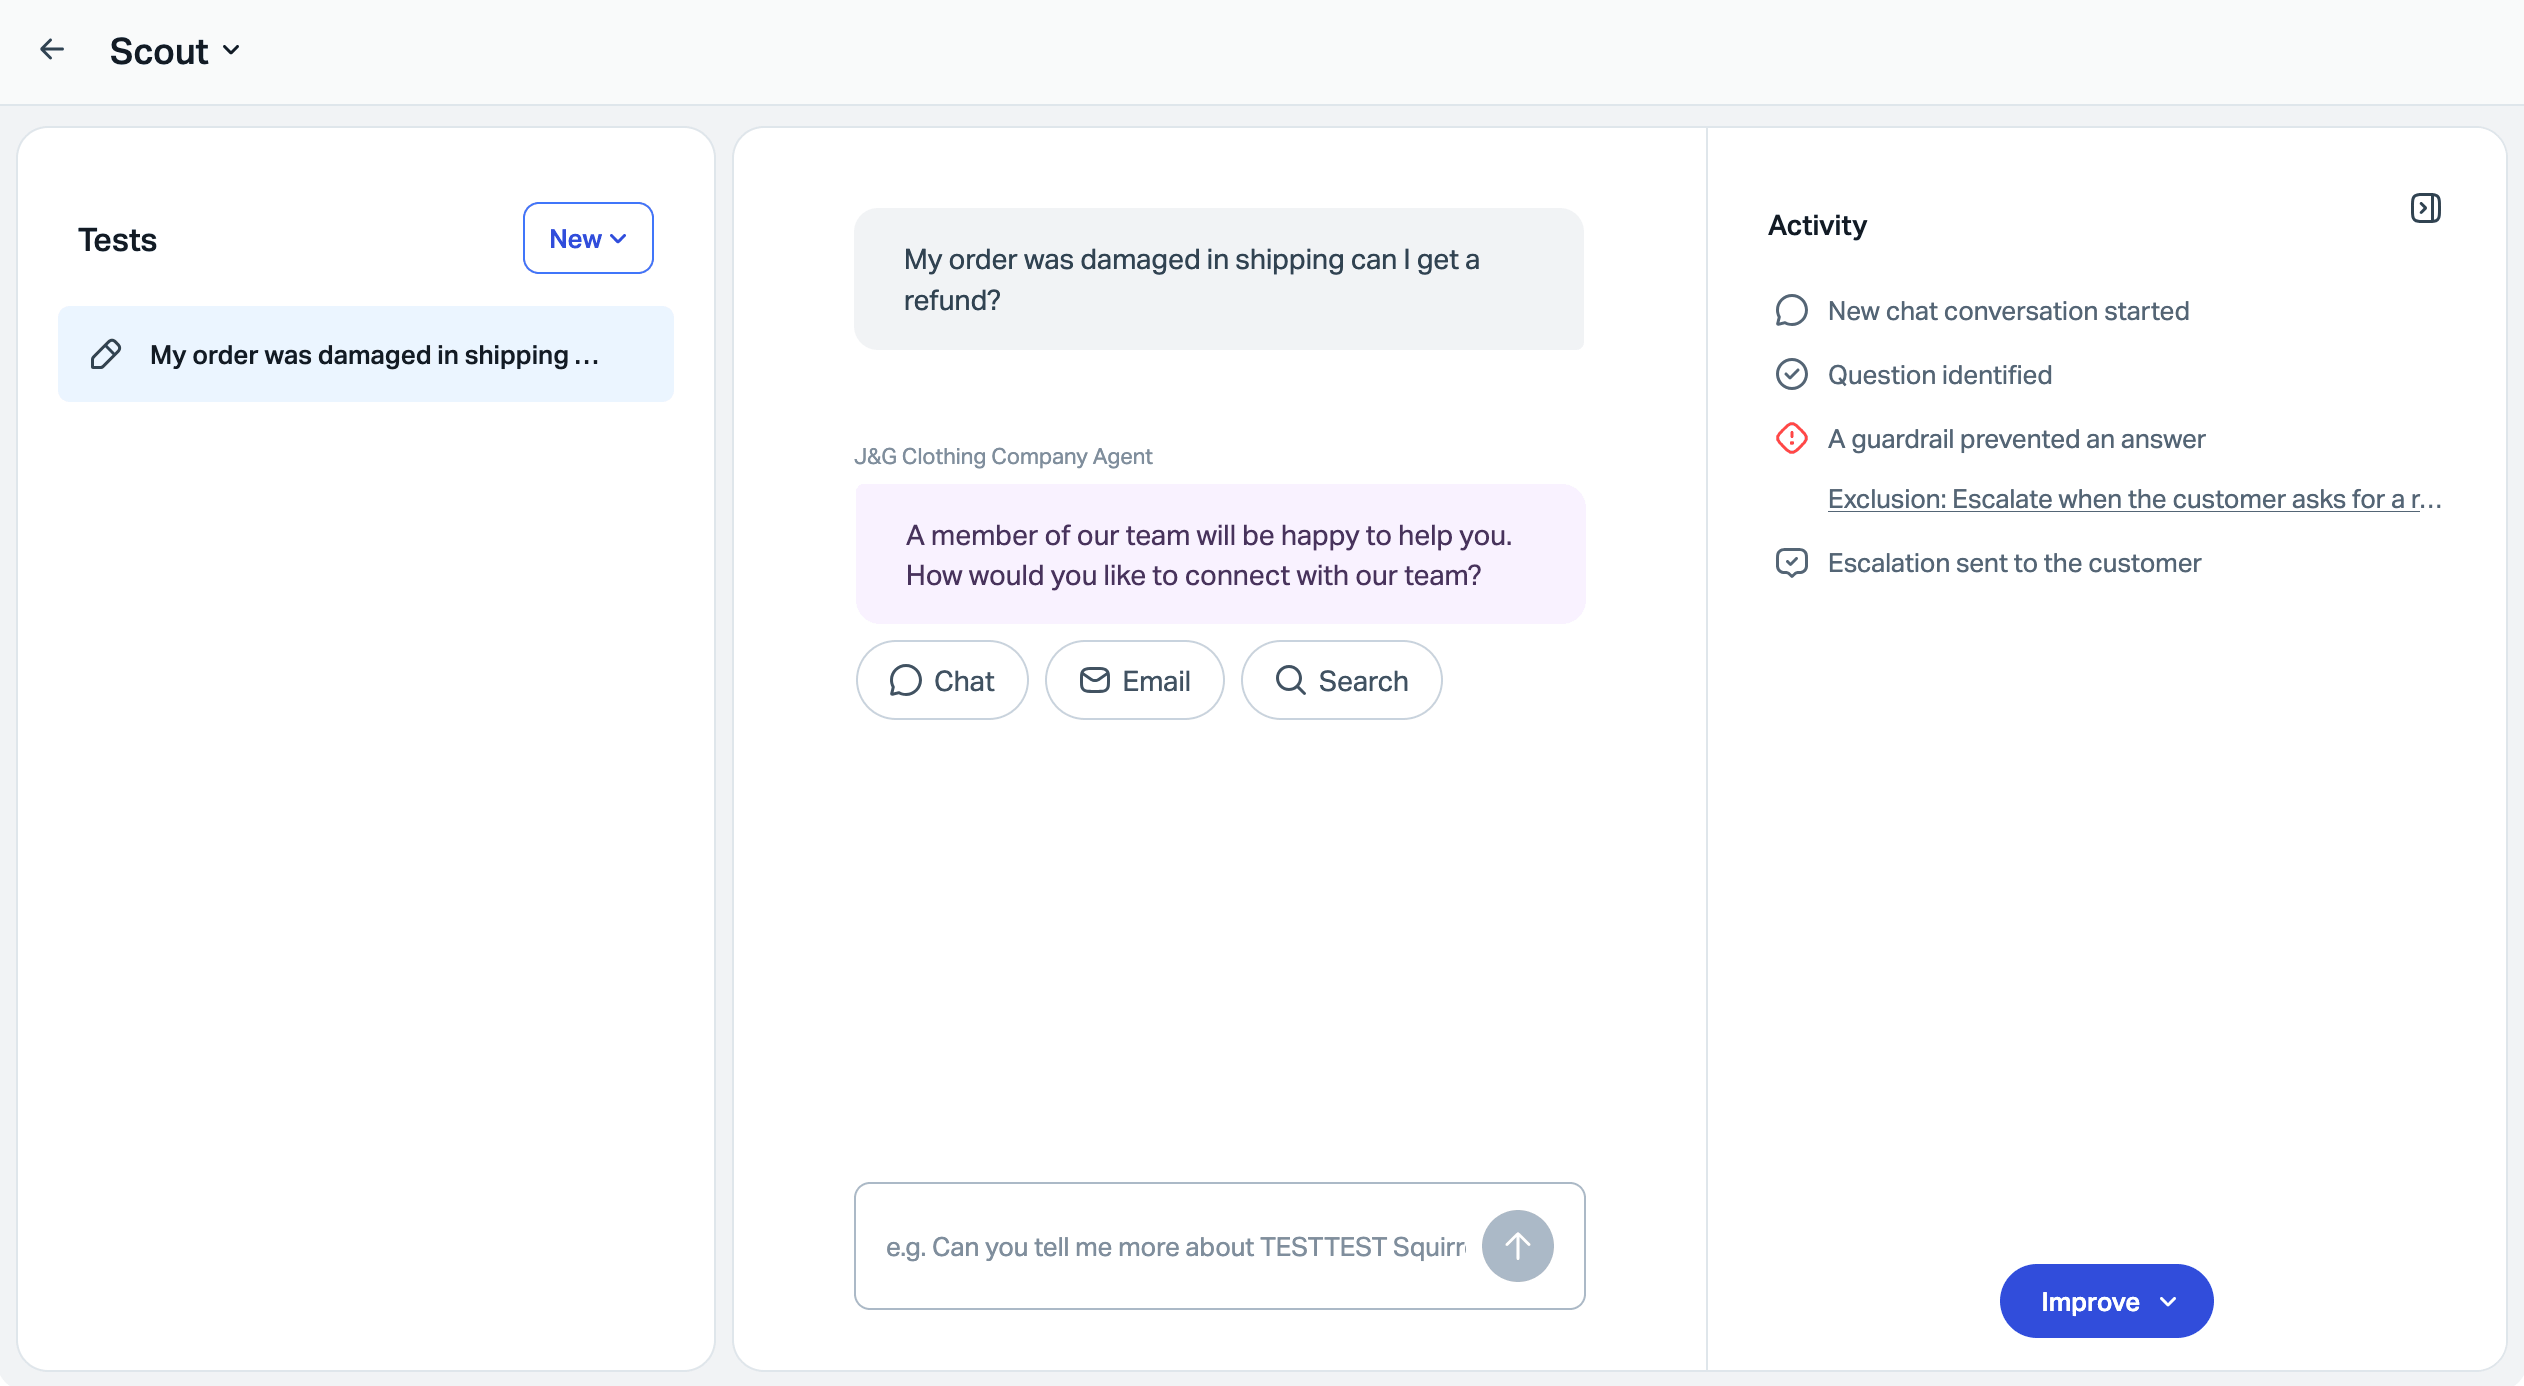
To see Scout in action before you put it live for customers, head to Scout > Test and choose Improve & Test. Test your configuration in the chat interface.
Ask questions covered by your documentation to confirm that Scout provides accurate answers with links to your sources. Test the exclusions to make sure it's catching all the cases you want it to.
Now that you've got Scout ready to help your customers, let's get it activated in chat and email! See Enable Scout in Beacon for Chat to add Scout to any installed Beacon so that it can chat with your customers. Check out Enable Scout in Inbox for Email if you want to set up Scout to reply to your emails.
Enable Scout in Beacon for Chat
If you've not created any Beacons yet, head to Tools > Beacons > New Beacon to create one. Check out Create a New Beacon if you need any help through these steps. Choose Scout in the left navigation after you've created your Beacon.
If you're already using Beacon, you can add Scout to any active Beacon by heading to Tools > Beacons > [Choose Your Beacon] > Scout.
Switch the Enable toggle to active, and click Save.
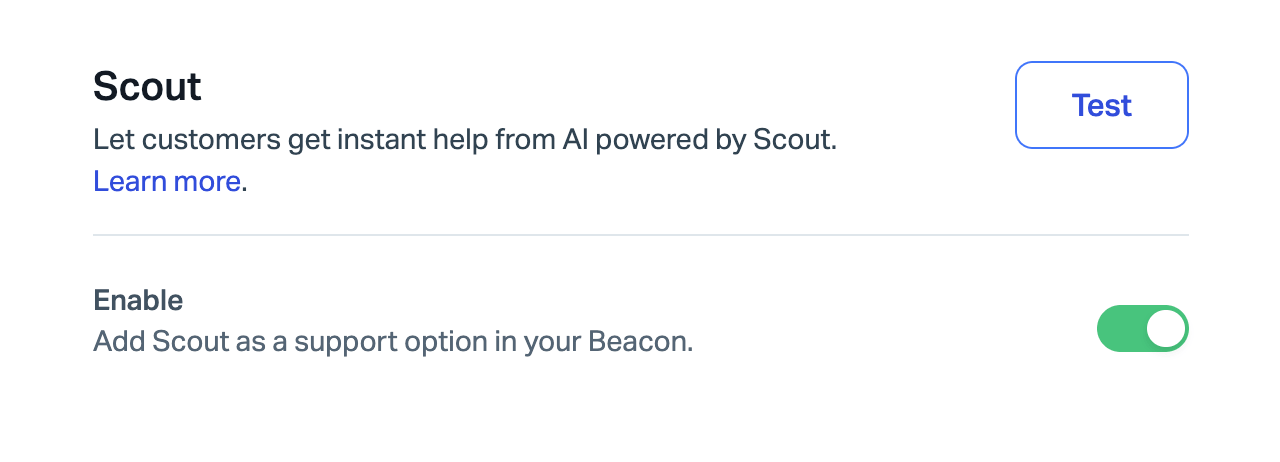
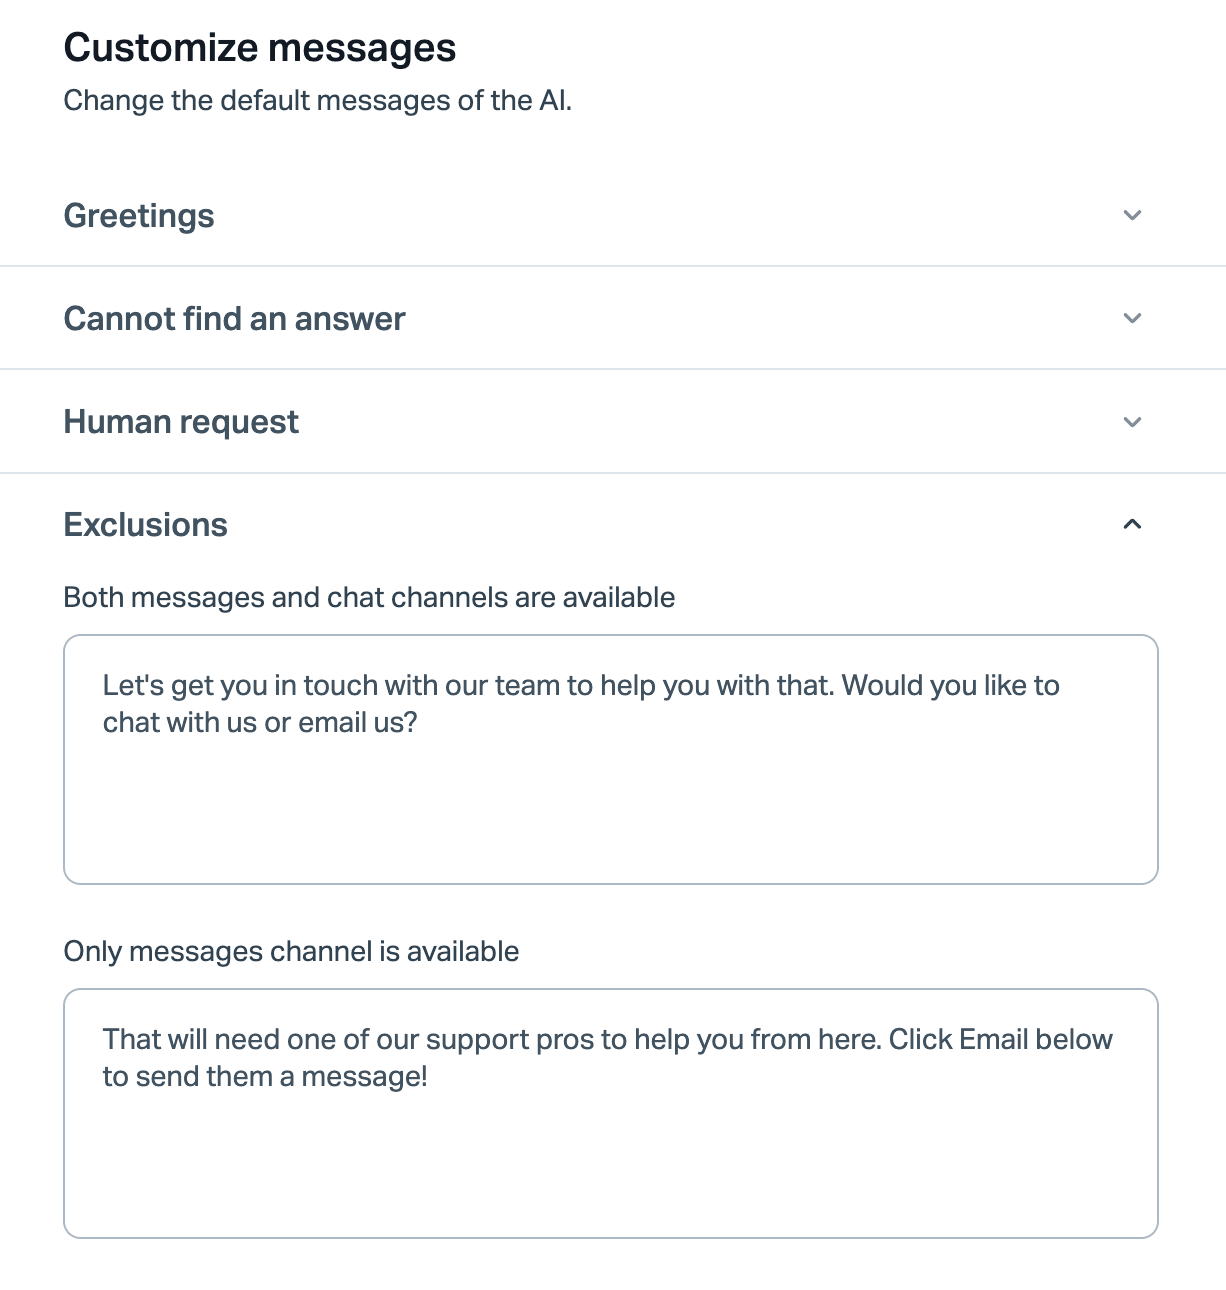
Scroll down to the Customize messages section on this page to change Scout's default greetings, how it replies when it encounters an exclusion or when someone asks for a human, along with the other default messaging it will use.
Enable Scout in Inbox for Email
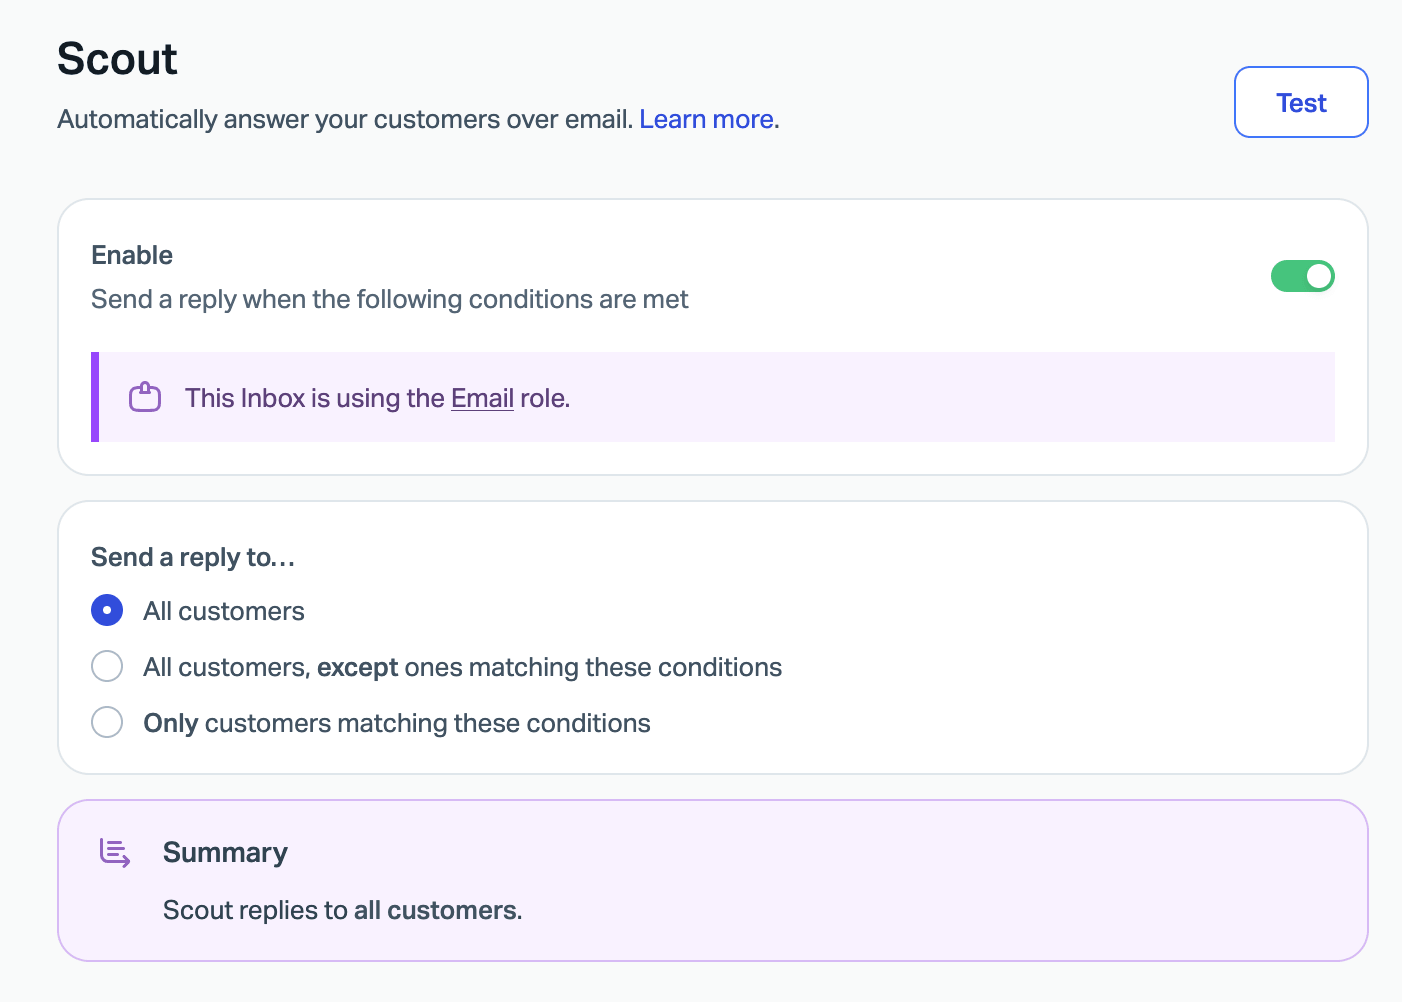
Choose Settings (the gear icon) from the top navigation then choose Inboxes in the left navigation. Choose the Inbox where you want to enable Scout, and click Scout from the left navigation. Switch the Enable toggle to active.
Set Conditions for Scout via Email
You can set additional conditions to decide whether Scout should reply or if the email should land with your team instead.
All customers
Once you enable Scout, it replies to all new conversations.
All customers, except ones matching these conditions
Set conditions where Scout should not reply automatically.
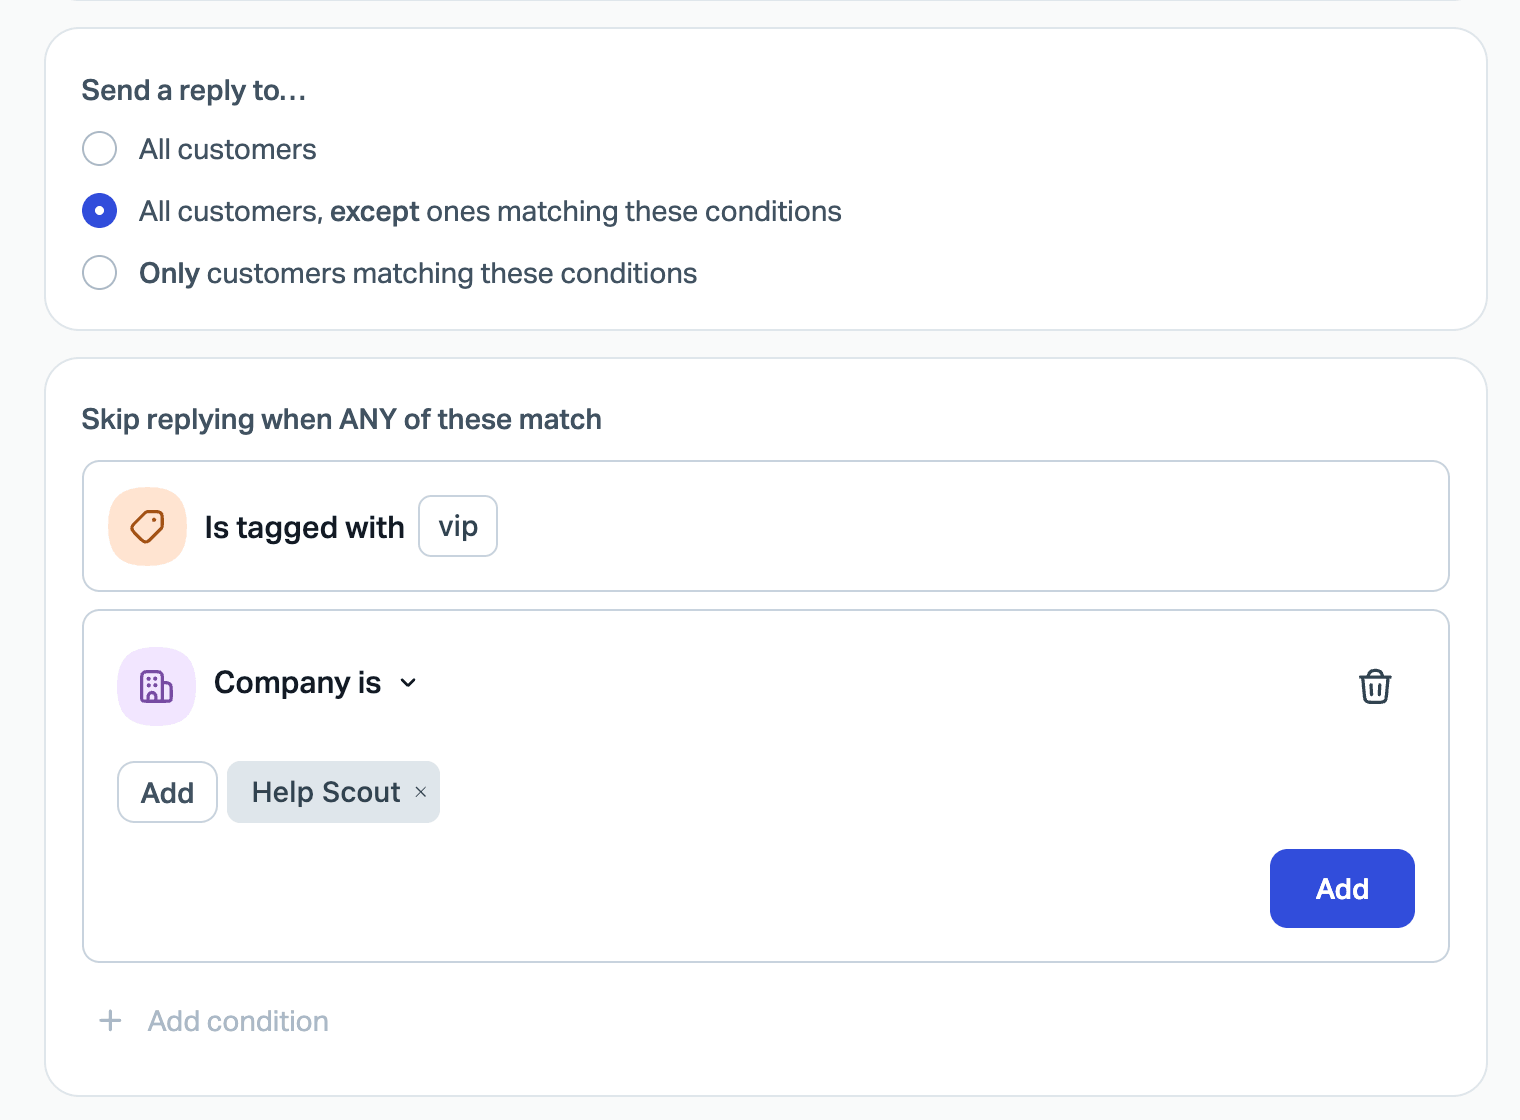
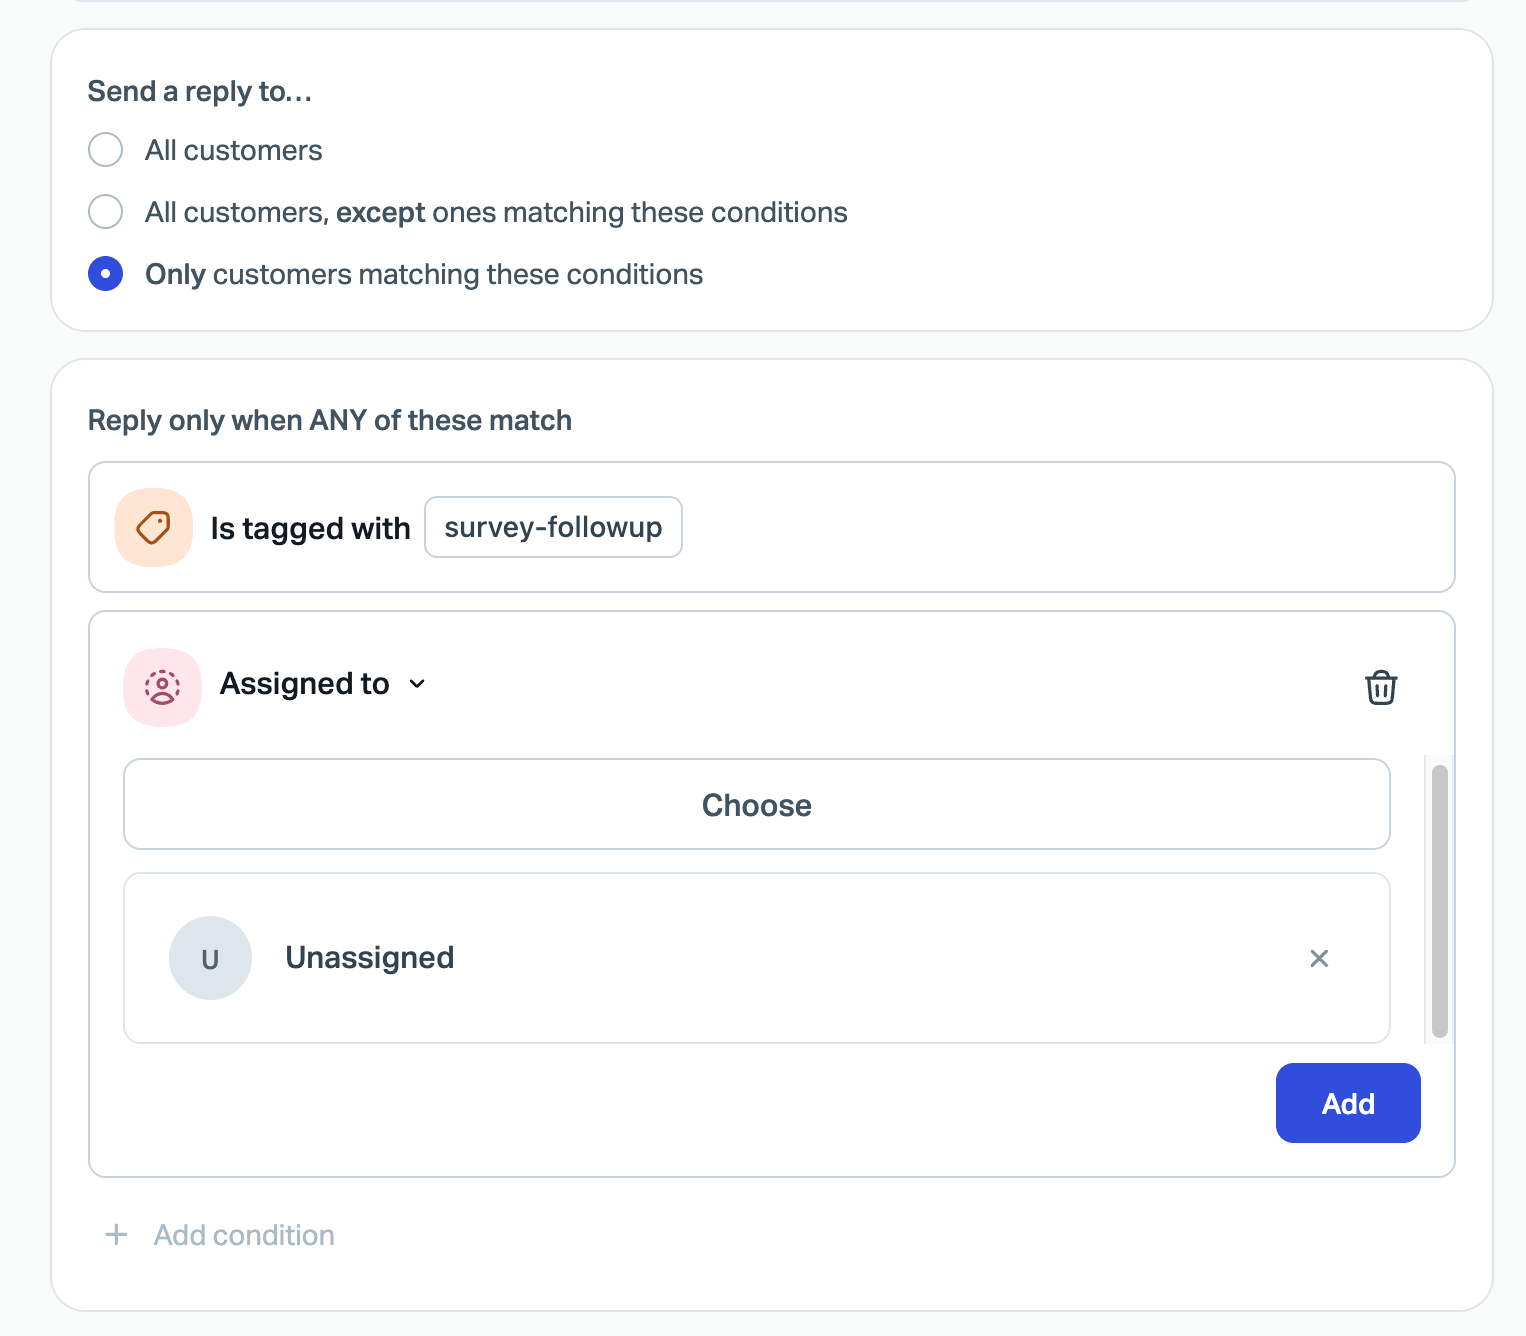
Only customers matching these conditions
Set the conditions where you want Scout to reply, but only to the conversations that match these conditions.